Optimal Soil for Thriving Hydrangeas: A Comprehensive Guide
Discover the best soil for growing healthy hydrangeas. Learn how to create optimal soil conditions and maintain them for vibrant blooms.
Read MoreFOLLOW US:
Over time, hydrangeas can grow larger than expected, spreading their roots and foliage. If planted too close to other shrubs or flowers, they may compete for sunlight, water, and nutrients. This competition can lead to stunted growth and fewer blooms.
Transplanting allows you to provide more space for your hydrangea to thrive, ensuring adequate air circulation and access to resources. It also prevents the risk of root entanglement with neighbouring plants, which can cause long-term damage.

Hydrangeas thrive in locations with partial shade, typically receiving morning sun and afternoon shade. If your plant is situated in full sun or heavy shade, it may struggle to produce healthy foliage or blooms. Signs of improper lighting include scorched leaves, limited growth, or lack of flowers.
Relocating your hydrangea to a more suitable spot ensures it receives the ideal balance of sunlight and shade. This can significantly improve its overall health and flowering potential.
Hydrangeas prefer well-draining, nutrient-rich soil. If planted in clay-heavy or overly sandy soil, the plant may struggle to absorb essential nutrients and water. Poor drainage can also lead to root rot, which is a common issue in waterlogged soils.
Transplanting to a site with better soil conditions—or amending the soil in the new location—can address these issues. Adding organic matter such as compost can further enhance the soil's fertility and structure, giving your hydrangea the best chance to thrive.
If your hydrangea has stopped blooming or produces only a few flowers, the issue may be related to its current environment. Factors such as soil pH, nutrient levels, and sunlight can all influence flowering.
Transplanting allows you to address these factors. For example, certain hydrangea varieties change colour based on soil pH. Moving the plant to a location where you can better control soil acidity or alkalinity can result in more vibrant and consistent blooms.
Garden designs and landscapes often evolve. Whether you’re adding a new patio, expanding a vegetable garden, or introducing new plants, a hydrangea may need to be moved to accommodate these changes. Transplanting ensures your hydrangea remains a beautiful feature of your garden, even as the surroundings change.
In some cases, hydrangeas may show signs of declining health, such as wilting, yellowing leaves, or pest infestations. Transplanting can rejuvenate the plant by relocating it to a less stressful environment with better conditions.
Additionally, moving the plant allows you to inspect its root system and address any problems, such as girdling roots or fungal infections, that may not be apparent from above ground.
As seasons change, the microclimate in your garden may also shift. For example, a tree that once provided shade for your hydrangea might be removed, resulting in too much sun exposure. Similarly, changes in water drainage due to new landscaping can affect your hydrangea’s health.
Transplanting helps you adapt to these changes, ensuring that your hydrangea continues to receive optimal conditions year-round.
Transplanting a hydrangea is sometimes necessary to ensure its health, beauty, and longevity. Whether addressing overcrowding, poor soil, inadequate sunlight, or landscape changes, a thoughtful transplant can provide your hydrangea with the ideal conditions to flourish. By understanding why and when to transplant, you can make informed decisions that benefit both your plant and your garden.
The optimal time to transplant a hydrangea is during its dormant period, which typically falls in late autumn or early spring. At these times, the plant is less likely to experience transplant shock as it is not actively growing.
The timing of a transplant plays a crucial role in a hydrangea’s ability to adapt to its new location. Hydrangeas are less stressed during certain periods of their growth cycle, particularly when they are dormant. Transplanting at the wrong time can lead to transplant shock, reduced flowering, or even plant death.
By understanding the growth habits of hydrangeas, you can choose a time that gives the plant the best chance to establish itself and flourish in its new spot.
Autumn is widely regarded as the ideal time to transplant hydrangeas. During this season, the plant has entered dormancy, meaning its growth has slowed, and it is no longer producing new leaves or flowers. This reduces the strain on the root system during the move.
The soil remains warm from the summer months, which encourages root development even as the plant rests. Additionally, autumn rains can provide consistent moisture, aiding in the establishment of the plant in its new location.
Another excellent time to transplant hydrangeas is early spring, just before new growth begins. At this stage, the plant is still dormant, but the warming weather encourages it to start preparing for the growing season. Transplanting during this window gives the hydrangea ample time to establish its roots before the demands of flowering and leaf production increase.
It is essential to complete the transplant before the buds swell and active growth starts, as moving the plant during this phase can cause significant stress.
While autumn and early spring are generally the best times to transplant hydrangeas, local conditions and specific circumstances may influence your decision. Here are some factors to consider:
Transplanting your hydrangea during its dormant period maximises its ability to recover and adapt to the new environment. Key benefits include:
Choosing the right time to transplant your hydrangea is essential to its success. Autumn and early spring provide the best conditions for a smooth transition, minimising stress and promoting healthy growth. By understanding your local climate and carefully planning the move, you can ensure your hydrangea continues to thrive in its new location for years to come.
Follow these steps to safely transplant your hydrangea:
Having the right tools and materials ready will make the process smoother and help minimise stress on the plant.
Hydrangeas thrive in partial shade with well-draining soil. Before transplanting, assess your garden to find a location that meets these requirements. Avoid areas with full sun exposure or overly wet soil, as these conditions can hinder the plant's growth.
Ensure the new location has enough space for the hydrangea to grow, considering its mature size. Good air circulation is also crucial to prevent fungal diseases.
Dig a hole in the new location that is twice as wide and the same depth as the hydrangea’s root ball. This gives the roots ample space to spread out and establish themselves. Incorporate compost or organic matter into the soil to improve fertility and drainage.
Water the hole lightly to create a moist environment that encourages root growth.
Water your hydrangea thoroughly one or two days before transplanting. This helps hydrate the plant and makes it easier to remove from the ground with minimal damage to the roots.
Use a spade to dig a circle around the plant, starting about 12 inches (30 cm) away from the base. Dig deep enough to lift the root ball, which should include most of the roots. Be careful not to sever too many roots, as this can cause transplant shock.
Once the root ball is free, gently lift the hydrangea from the ground. Avoid pulling by the stems or branches, as this can damage the plant.
Place the hydrangea in the prepared hole, ensuring it sits at the same depth as it was in its original location. Adjust the soil beneath the root ball if necessary to achieve the correct height.
Fill the hole with soil, tamping it down gently to remove air pockets. Avoid compacting the soil too tightly, as this can hinder root growth.
After planting, water the hydrangea generously to help the soil settle and encourage the roots to establish themselves. Continue to water regularly, keeping the soil consistently moist but not waterlogged, especially during the first few weeks after transplanting.
Spread a 2-inch (5 cm) layer of mulch around the base of the plant to retain moisture, regulate soil temperature, and prevent weeds. Keep the mulch a few inches away from the stem to avoid rot.
Keep a close eye on your hydrangea in the weeks following the transplant. Signs of transplant shock include wilting leaves and reduced growth. If these occur, ensure the plant is receiving enough water and is protected from harsh weather conditions.
Prune any damaged or wilted leaves to help the plant conserve energy while it adjusts to its new environment.
Successfully transplanting a hydrangea requires careful planning and execution, but the rewards are well worth the effort. By following these steps, you can ensure a smooth transition for your hydrangea, giving it the best chance to thrive in its new location. With proper care and attention, your hydrangea will continue to bring beauty and charm to your garden for years to come.
After successfully transplanting a hydrangea, proper aftercare is essential to help the plant adjust to its new environment and thrive. Hydrangeas, while hardy, are susceptible to transplant shock and require specific care to establish themselves in a new location. This guide will walk you through the best practices for hydrangea aftercare, ensuring your plant remains healthy and blooms beautifully.
Hydrangeas are moisture-loving plants, and consistent watering is crucial after transplanting. The key is to keep the soil evenly moist without becoming waterlogged, which can lead to root rot.
Transplant shock is a common issue for hydrangeas and can manifest as wilting, yellowing leaves, or slowed growth. Addressing these symptoms promptly can prevent further stress.
Hydrangeas benefit from balanced nutrients, but it's important to avoid over-fertilising, especially immediately after transplanting. Too much fertiliser can burn the roots and stress the plant.
Pruning is essential for maintaining the health and shape of your hydrangea, but avoid heavy pruning immediately after transplanting, as this can add unnecessary stress.
Hydrangeas can be sensitive to extreme weather conditions, particularly shortly after transplanting. Taking steps to shield the plant from these elements can significantly improve its recovery.
Hydrangeas are highly responsive to soil pH, which can influence both their health and the colour of their blooms. Maintaining the right soil conditions is crucial for long-term success.
Keeping a close eye on your hydrangea allows you to address any issues before they become major problems. Regularly check for pests, diseases, and overall health.
Proper aftercare is essential for a newly transplanted hydrangea to thrive. By focusing on consistent watering, monitoring for transplant shock, and maintaining optimal soil conditions, you can ensure a smooth transition and healthy growth. With care and attention, your hydrangea will reward you with stunning blooms and vibrant foliage for years to come.
Transplanting hydrangeas is a common gardening task that raises many questions. From timing and technique to aftercare, understanding the intricacies of the process can ensure success and vibrant growth in your garden. In this article, we answer frequently asked questions about transplanting hydrangeas to help you navigate this process with confidence.
Late October to early November or March to early April are ideal months.
Yes, with proper timing and care, hydrangeas adapt well to being moved.
Ensure minimal root damage, transplant during the dormant period, and provide consistent aftercare.
Yes, but take extra care to preserve the root system and provide support after transplanting.
Hydrangea roots are shallow but spread widely, typically extending about 6-8 inches deep.
While summer transplanting is not ideal, it can be done with extra care. Ensure the plant is well-watered and protected from direct sunlight during the hottest parts of the day. Be prepared for a longer recovery period due to the increased risk of transplant shock.
Light pruning can help reduce stress on the plant by minimising water loss through the leaves. However, avoid heavy pruning, as this can disrupt flowering for the next season. Focus on removing any damaged or wilting branches.
Aim for a root ball that is about 12 inches (30 cm) wide for every foot (30 cm) of plant height. Preserving as much of the root system as possible is crucial to the plant's recovery after transplanting.
Wait at least 4-6 weeks before applying fertiliser. Allow the plant to establish its roots in the new location before introducing additional nutrients.
Hydrangeas prefer partial shade, with morning sun and afternoon shade being ideal. Too much direct sunlight can scorch the leaves, while excessive shade may reduce blooming.
Yes, hydrangeas can thrive in containers if the pot is large enough to accommodate their root system. Ensure the container has proper drainage and use a high-quality, well-draining potting mix.
Transplant shock occurs when a plant struggles to adjust to its new environment, often leading to wilting or reduced growth. Minimise shock by transplanting during the dormant season, watering consistently, and avoiding damage to the roots.
Yes, applying a 2-inch (5 cm) layer of mulch around the base of the plant helps retain moisture, regulate soil temperature, and prevent weed growth. Keep the mulch a few inches away from the stem to avoid rot.
It’s best to avoid transplanting a blooming hydrangea, as the plant is expending energy on flowers and may struggle to adapt. If necessary, transplant with extra care and consider cutting back some blooms to reduce stress.
Recovery time varies but typically ranges from a few weeks to several months. The plant will focus on root establishment before producing significant new growth or blooms.
Hydrangeas prefer well-draining, nutrient-rich soil with a slightly acidic to neutral pH (5.5–7.0). Adding compost or organic matter improves soil quality and promotes healthy growth.
Winter transplanting is possible in mild climates where the ground doesn’t freeze. However, ensure the soil is workable and protect the plant from harsh weather with mulch or frost covers.
Signs of establishment include new leaf growth, upright stems, and a healthy appearance. A well-established hydrangea will also begin to bloom regularly in subsequent seasons.
Yes, hydrangea bloom colour can be influenced by soil pH. Use aluminium sulphate for blue blooms in acidic soil or lime for pink blooms in alkaline soil. Changes may take a few months to become noticeable.
Wilting is a common symptom of transplant shock. Ensure the plant is well-watered and shaded from intense sunlight. Trim any severely wilted leaves or branches to reduce stress on the plant.
Space hydrangeas at least 3-5 feet (1-1.5 metres) apart, depending on the variety. Adequate spacing ensures good air circulation and allows each plant to grow to its full size.
Yes, but be aware that tree roots may compete with the hydrangea for water and nutrients. Choose a new location with fewer root competitions and amend the soil with organic matter.
Staking is usually not necessary unless the plant is tall or the site is particularly windy. If needed, use soft ties to avoid damaging the stems.
Water the plant thoroughly 1-2 days before digging it up. This hydrates the roots and makes them easier to extract with minimal damage.
Transplanting during light rain can be beneficial, as it keeps the soil moist and reduces stress on the plant. Avoid heavy rain, which can create muddy conditions and compact the soil.
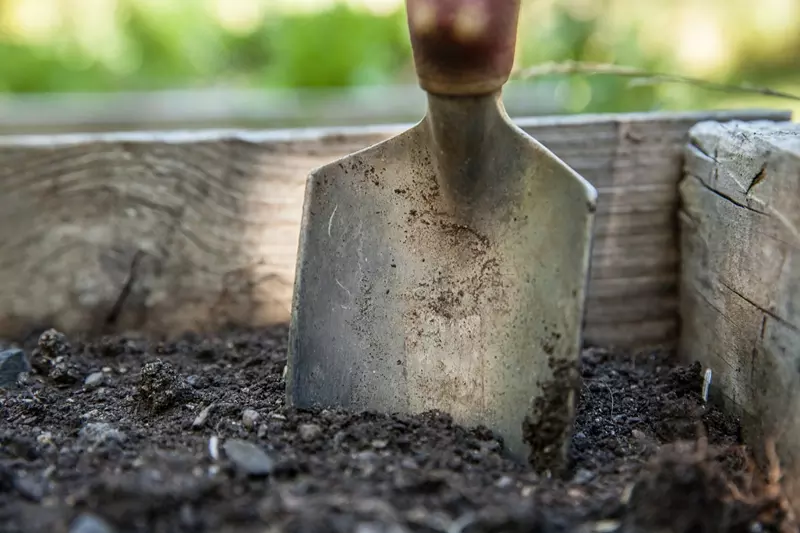
Discover the best soil for growing healthy hydrangeas. Learn how to create optimal soil conditions and maintain them for vibrant blooms.
Read More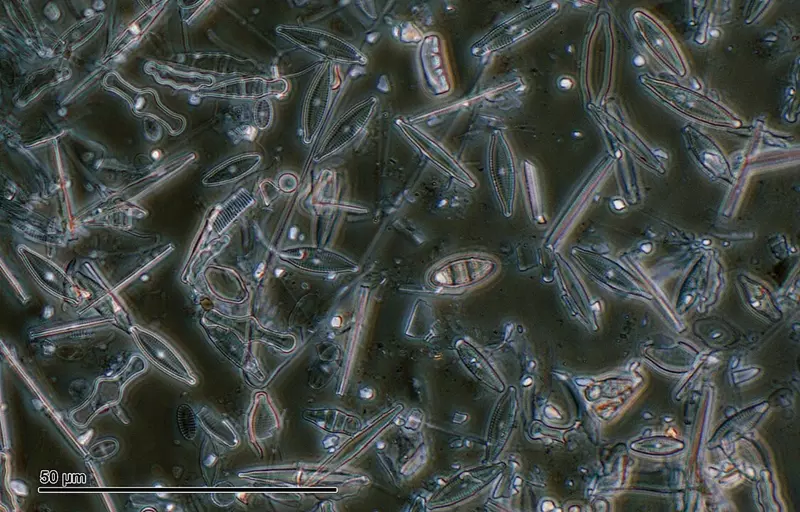
Discover the benefits and techniques of using diatomaceous earth for hydrangeas. Learn how to apply DE effectively for pest control and soil improvement.
Read More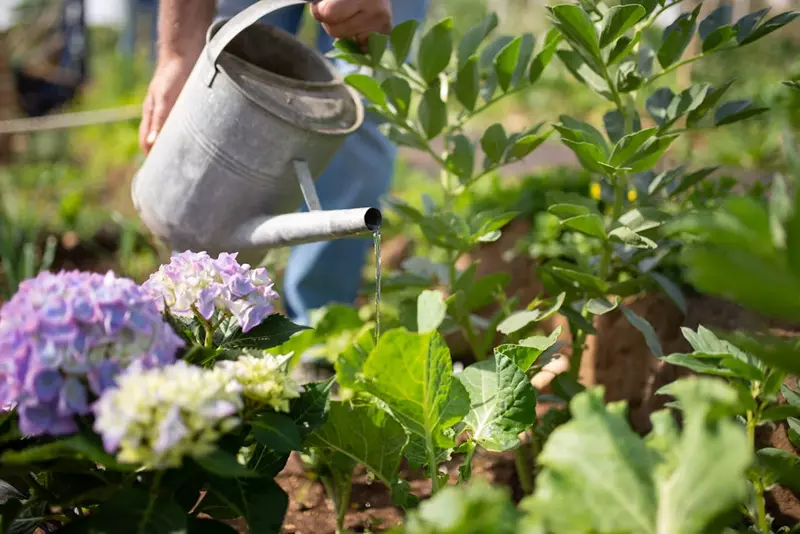
Learn the best practices for watering hydrangeas to ensure vibrant blooms and healthy plants. Discover how often to water, seasonal tips, and common mistakes to avoid.
Read More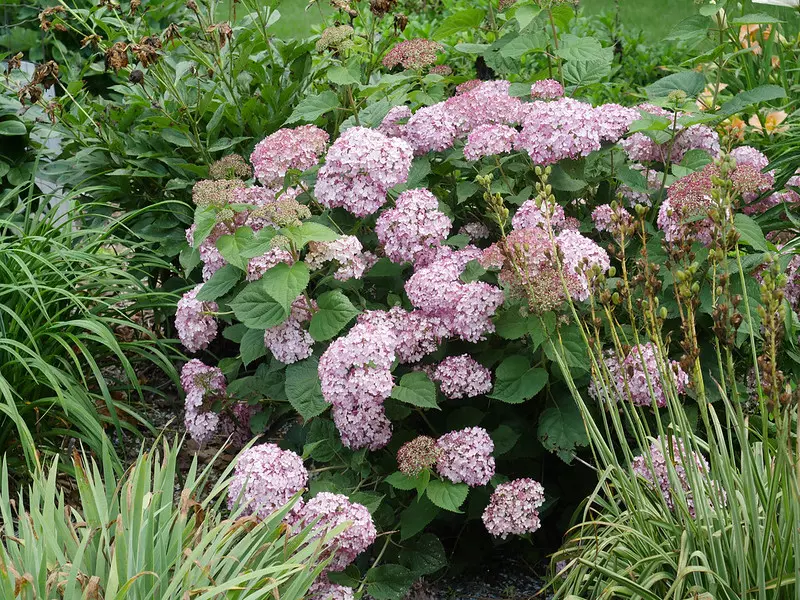
Discover what to plant with hydrangeas to create a thriving and visually stunning garden. Learn about the best companion plants and their benefits.
Read More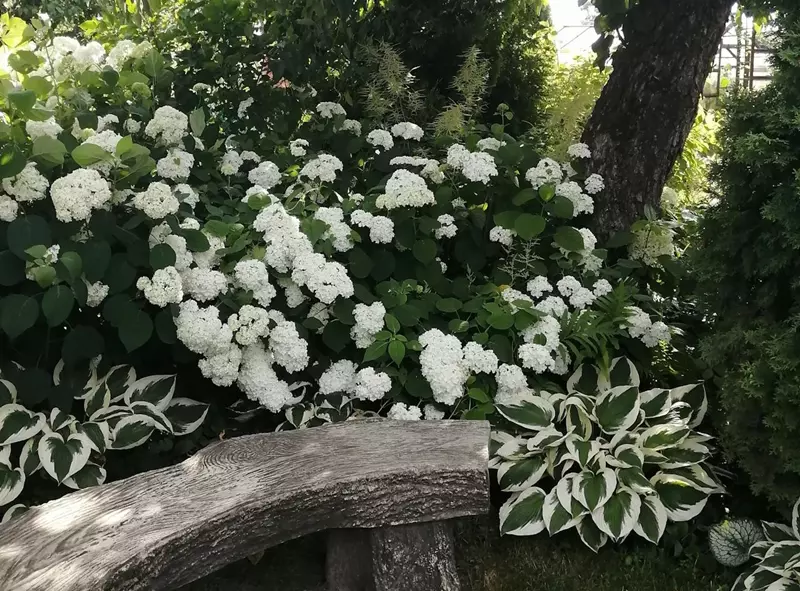
Discover how to grow hydrangeas in shaded gardens with our comprehensive guide. Learn about shade-tolerant varieties, planting tips, care, and common issues.
Read More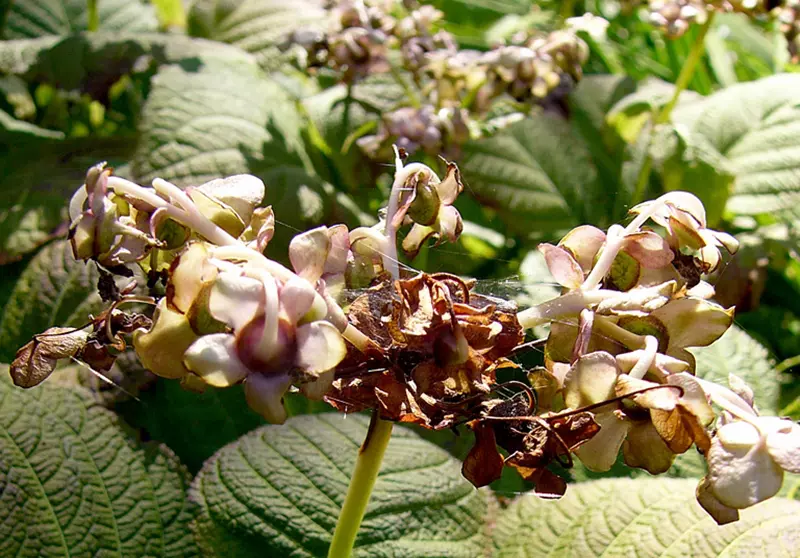
Discover expert tips to prevent hydrangea flowers from wilting prematurely. Learn the causes and solutions for maintaining vibrant and healthy blooms in any garden.
Read More
Richard Seres-Nagy is a passionate gardener with over 20 years of experience in hydrangea care. He founded Hydrangea Library to share expert advice, step-by-step guides, and practical tips for fellow gardening enthusiasts.
Read More