Top 7 Pruning Shears & Tool Sets on Amazon USA - Comparison Guide
Discover the top 7 pruning shears and tool sets on Amazon USA. Compare features, uses, and benefits to choose the best garden tools for your needs.
Read MoreFOLLOW US:
Hydrangeas are beloved for their large, showy blooms and versatility in gardens across the United States. Planting them in spring allows the roots to establish before the intense heat of summer. This checklist is designed to help both novice and experienced gardeners achieve the best results, with region-specific guidance to accommodate the diverse climates of the U.S.

Timing is one of the most crucial factors when planting hydrangeas in spring. Planting at the right time ensures that the hydrangea has enough opportunity to establish strong roots before the stress of summer heat arrives. Conversely, planting too early or too late can hinder growth, reduce flowering, and in some cases, damage the plant. Understanding your local climate, frost dates, and USDA hardiness zones will guide you to the ideal planting window. You can determine your zone using the USDA Plant Hardiness Zone Map.
Hydrangeas thrive when planted in soil that has warmed up after winter and when the risk of frost has passed. In general, the soil temperature should be consistently above 50°F (10°C). Planting in cold or waterlogged soil can lead to root rot or slow establishment. Conversely, planting too late in spring or early summer can expose young plants to excessive heat and moisture stress.
Spring planting gives hydrangeas the advantage of a full growing season to develop a robust root system. By establishing early, the plant can better handle summer heat and drought conditions. Moreover, hydrangeas planted in spring are more likely to produce blooms during the same year, provided they are planted at the correct time.
While fall planting can be successful in some southern U.S. regions, it carries the risk of young plants not establishing roots before winter in colder areas. This makes spring the safest and most effective season for planting hydrangeas in most parts of the United States.
The best way to identify the right planting window is by knowing your local frost dates. Hydrangeas should be planted after the last expected frost date when the soil is workable. Planting too early, when the ground is cold or saturated, can stunt growth and damage roots. Local gardening centers or cooperative extensions often provide region-specific frost date information.
The United States has diverse climates, so the ideal planting window varies significantly by region. Refer to the guidelines below to determine the best timing for your area:
These regions experience longer, harsher winters, making it crucial to wait until the soil has fully thawed and warmed. Planting too early can result in slow root development. If unexpected frosts occur after planting, cover your hydrangeas with frost cloth or breathable fabric to prevent damage.
The milder climate allows for an earlier planting window. However, the Southeast often experiences heavy spring rains, so ensure proper drainage to prevent waterlogging. Planting during this period provides ample time for root establishment before the intense summer heat.
Coastal California and parts of the Southwest benefit from mild winters, making February planting ideal. In hotter inland areas like Arizona or inland California, plant earlier in spring to avoid extreme heat. Apply a generous layer of mulch after planting to conserve soil moisture.
By aligning your planting schedule with local conditions and regional guidelines, you give your hydrangeas the best chance to thrive. Remember, patience with timing often leads to healthier plants and more abundant blooms throughout the season.
Proper preparation before planting hydrangeas in spring is essential for ensuring healthy growth, vibrant blooms, and long-term plant success. Taking the time to prepare your soil, choose the right location, select suitable varieties, and gather the necessary tools will make the planting process smoother and give your hydrangeas the best possible start. This detailed checklist walks you through every crucial step to help you avoid common pitfalls and ensure optimal growing conditions.
Hydrangeas thrive in fertile, well-draining soil with a pH between 5.5 and 7.0, depending on the variety and desired flower colour. Soil testing is the first critical step before planting. Knowing your soil's pH and nutrient levels allows you to make informed adjustments that can significantly improve plant health.
Use a reliable soil testing kit, available at garden centres or through your local cooperative extension service. For the most accurate results, collect soil samples from the planting area at a depth of 6 inches (15 cm). Mix samples from different spots for a comprehensive reading.
- If the pH is too high (alkaline), amend the soil with elemental sulphur or peat moss to lower it. - If the pH is too low (acidic), add lime to raise the level. - For colour control: Acidic soil (pH below 6.0) encourages blue flowers in certain hydrangea species, while alkaline soil (pH above 6.0) promotes pink blooms.
Mix in organic matter like compost, well-rotted manure, or leaf mould to enhance soil fertility and drainage. Heavy clay soils should be amended with coarse sand or fine gravel to prevent waterlogging, which can cause root rot.
Different hydrangea species perform better in various climates and soil conditions. Selecting the right variety ensures your plants thrive in your specific region.
Consult local garden centres or extension services for guidance on varieties best suited to your USDA hardiness zone and garden conditions.
The right location is crucial for hydrangea health and flower production. Consider the following factors when choosing your planting spot:
Having the right equipment ready before you start planting can make the process more efficient and less stressful.
Before placing your hydrangea in the ground, proper preparation of the plant itself is essential:
Hydrangeas require well-draining soil. Poor drainage can lead to root rot, while excessive dryness can stress the plant.
Investing time in thorough preparation pays off throughout the growing season. By following this checklist, you give your hydrangeas the best chance to thrive, produce abundant blooms, and enhance the beauty of your garden.
Successfully planting hydrangeas in spring requires careful attention to each stage of the process. By following a structured approach, you can ensure that your hydrangeas establish strong roots, adapt to their environment, and thrive throughout the growing season. This step-by-step guide covers everything from digging the planting hole to applying mulch, providing detailed instructions to help both novice and experienced gardeners.
Before breaking ground, confirm that the chosen location meets your hydrangea’s light, soil, and space requirements. Most hydrangeas prefer morning sun and afternoon shade, especially in warmer regions. In cooler climates, more direct sunlight may be beneficial for flowering.
Hydrangeas thrive in well-draining, fertile soil. Before digging, improve soil quality by incorporating organic matter.
The size and shape of the planting hole are crucial for healthy root development.
Proper preparation of the hydrangea before placing it in the ground helps reduce transplant shock.
Positioning the hydrangea correctly is vital for long-term health and growth.
Filling the hole correctly ensures the plant remains stable and encourages proper root contact with the soil.
Initial watering is crucial to settle the soil and hydrate the roots.
Mulching helps retain moisture, suppress weeds, and regulate soil temperature.
If your hydrangea is top-heavy or planted in a windy area, staking can provide necessary support.
Following these step-by-step planting instructions ensures that your hydrangeas get the best possible start. Proper placement, soil preparation, and careful planting techniques set the foundation for healthy growth and beautiful blooms throughout the season.
Proper care after planting hydrangeas in spring is essential for ensuring strong root establishment, healthy foliage, and abundant blooms. The early stages following planting are crucial, as the plant adjusts to its new environment. By following these comprehensive post-planting care tips, you can maximise the success of your hydrangeas and enjoy vibrant growth throughout the growing season.
Hydrangeas require consistent moisture, especially during the first few weeks after planting when roots are developing. However, overwatering can be just as harmful as underwatering. Striking the right balance is key.
Mulching provides numerous benefits, including moisture retention, temperature regulation, and weed control. It’s a vital step in post-planting care.
While newly planted hydrangeas don’t require immediate fertilisation, applying nutrients at the right time promotes healthy growth and flower production.
While hydrangeas are generally hardy, they can be susceptible to pests and diseases, particularly during the establishment phase.
Although hydrangeas benefit from morning sun, young plants may require additional protection from harsh afternoon rays, especially in warmer regions.
While heavy pruning isn’t necessary for newly planted hydrangeas, light maintenance can support healthy development.
Hydrangea care doesn’t end after planting. Ongoing observation and adjustments ensure continued health and vibrant blooms.
By following these post-planting care tips, you give your hydrangeas the best chance to thrive through the growing season. Consistent attention, proper watering, adequate mulching, and timely pest management will ensure lush foliage and an abundance of beautiful blooms.
Planting hydrangeas in spring can be rewarding, but even experienced gardeners can make mistakes that hinder plant health and flower production. Being aware of these common pitfalls ensures that your hydrangeas thrive from the start. This section outlines the most frequent errors and provides practical solutions to help you avoid them.
Timing is crucial for successful hydrangea planting. Planting too early in spring, when the soil is still cold or there is a risk of frost, can shock the plant and delay growth. Conversely, planting too late can expose young plants to harsh summer heat, making it harder for roots to establish.
Incorrect planting depth is a common error that can lead to root rot or inadequate support. Planting too deeply suffocates the roots, while planting too shallowly can expose them to drying out.
Hydrangeas thrive in well-draining, nutrient-rich soil. Planting directly into compacted or poor-quality soil can stunt growth and reduce blooming potential.
Both excessive and insufficient watering can damage hydrangeas. Overwatering leads to root rot, while underwatering stresses the plant, causing wilting and poor flower development.
While mulch is beneficial, using the wrong type or applying it improperly can do more harm than good. Piling mulch against the stem promotes rot, and non-organic mulches may not provide the same soil benefits.
Planting hydrangeas in locations with inadequate or excessive sunlight can impact growth and flowering. Too much direct afternoon sun can scorch leaves, while too much shade may reduce blooms.
Applying too much fertiliser or using an inappropriate type can result in lush foliage but fewer blooms. High-nitrogen fertilisers, in particular, encourage leafy growth at the expense of flowers.
Failing to loosen the root ball before planting can cause roots to remain in their container shape, leading to poor establishment and restricted growth.
Newly planted hydrangeas are vulnerable to sudden temperature changes, strong winds, and harsh sun exposure, all of which can cause stress and damage.
Hydrangeas can be susceptible to pests like aphids and diseases such as powdery mildew. Neglecting early warning signs can lead to widespread damage.
Crowding hydrangeas can limit airflow, increase disease risk, and restrict plant growth. Limited space can also make maintenance more challenging.
Planting is just the beginning. Neglecting essential post-planting care such as regular watering, mulching, and pest management can hinder plant success.
Avoiding these common mistakes ensures that your hydrangeas establish well, remain healthy, and produce abundant blooms. Careful planning, proper techniques, and regular maintenance are the keys to success in cultivating beautiful hydrangeas throughout the growing season.
Planting hydrangeas in spring is a rewarding experience for American gardeners. By following this comprehensive checklist, you can ensure your hydrangeas establish strong roots and thrive through the seasons. With proper preparation, planting techniques, and post-care, your garden will be graced with vibrant blooms for years to come.
Download a printable version of this checklist for easy reference during your planting day!
Discover the top 7 pruning shears and tool sets on Amazon USA. Compare features, uses, and benefits to choose the best garden tools for your needs.
Read More
Discover the top 10 hydrangea varieties loved in the USA. Learn about their unique features, care tips, and how they can enhance your garden.
Read More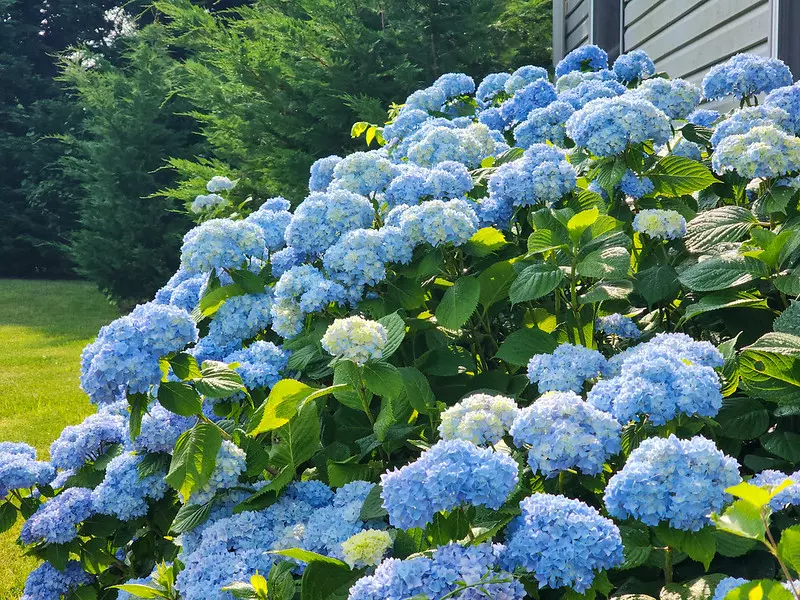
Discover the top 10 nurseries in Florida offering a wide range of hydrangeas. Learn about their offerings, locations, and what makes them standout for hydrangea lovers.
Read More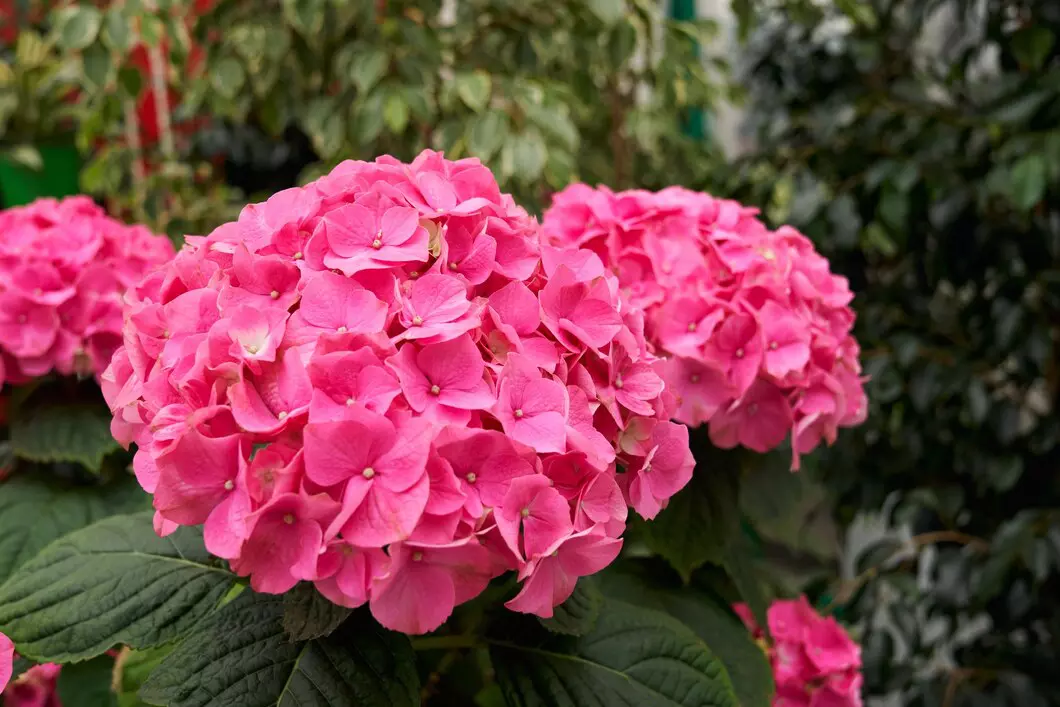
Discover how to grow hydrangeas in California’s Mediterranean climate with expert tips on planting, watering, and choosing the best varieties for vibrant blooms.
Read More
Learn how to grow hydrangeas in Texas heat with expert tips on choosing heat-tolerant varieties, watering strategies, soil preparation, and sun protection for thriving blooms.
Read More
Discover the best spring hydrangea care secrets for lush, healthy blooms. Learn expert pruning, watering, fertilising, and maintenance tips to maximise growth.
Read More
Richard Seres-Nagy is a passionate gardener with over 20 years of experience in hydrangea care. He founded Hydrangea Library to share expert advice, step-by-step guides, and practical tips for fellow gardening enthusiasts.
Read More