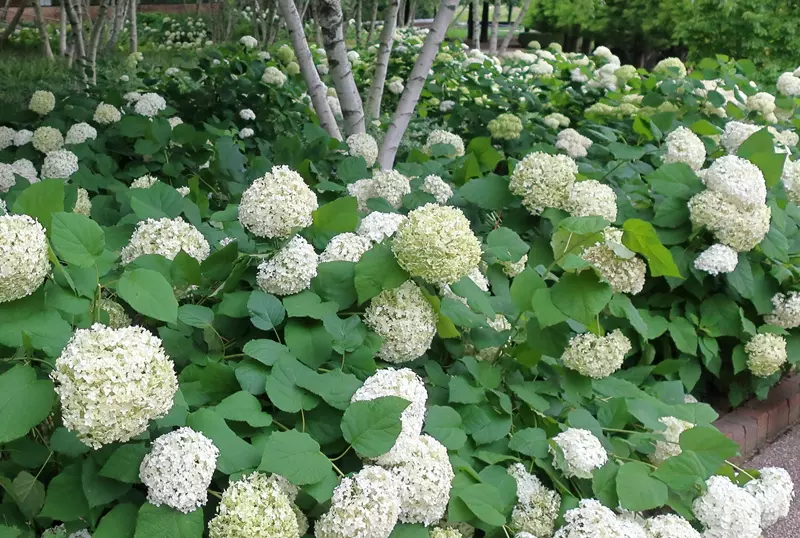
Hydrangea arborescens 'Annabelle': A Comprehensive Guide
Comprehensive guide on Hydrangea arborescens 'Annabelle'. Learn expert tips on planting, care, pruning, and maintaining vibrant blooms.
Read MoreHydrangea arborescens, commonly known as smooth hydrangea, is a deciduous shrub prized for its large, spherical flower heads and reliable growth. Native to eastern North America, this hardy and adaptable species is a favourite among gardeners looking for low-maintenance yet show-stopping plants. Known for its versatility and resilience, Hydrangea arborescens can thrive in a variety of garden styles and conditions.
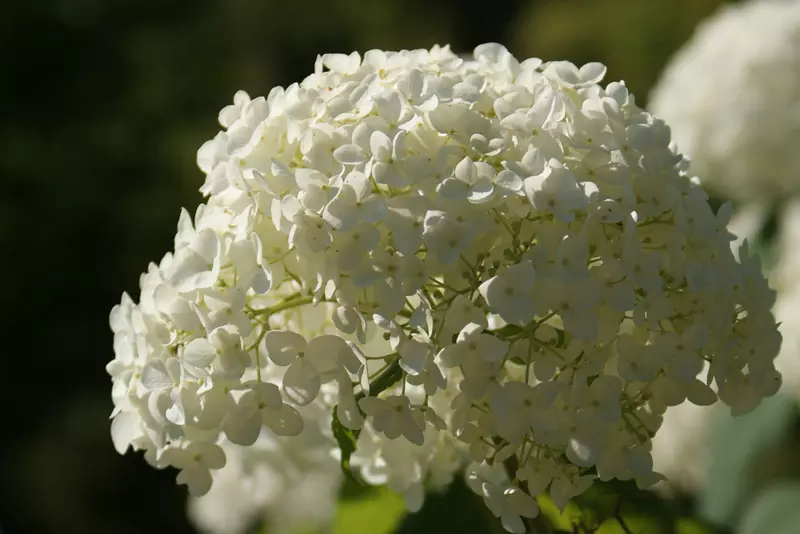
Hydrangea arborescens is celebrated for its unique features that make it a standout in gardens:
Hydrangea arborescens is easy to grow and maintain, making it a great choice for gardeners of all experience levels. Here’s how to care for it:
While this species tolerates a range of light conditions, it thrives best in partial shade. It can also grow in full sun as long as it receives sufficient moisture.
Hydrangea arborescens prefers rich, well-draining soil but is adaptable to various soil types, including clay, loam, and sandy soils. A slightly acidic to neutral pH (5.5–7) is ideal.
Regular watering is essential, especially during hot and dry periods. Keep the soil consistently moist but avoid waterlogging, which can lead to root rot.
Prune Hydrangea arborescens in late winter or early spring, as it blooms on new wood. Cut back stems to about 15–30 cm above the ground to encourage strong, vigorous growth and abundant flowering.
Apply a balanced, slow-release fertiliser in early spring to support healthy growth and vibrant blooms.
Hydrangea arborescens is a versatile shrub that complements various garden styles. Here are some ideas for incorporating it into your landscape:
Several cultivars of Hydrangea arborescens are widely available, each with unique characteristics:
This hydrangea species offers numerous benefits that make it a favourite among gardeners:
Hydrangea arborescens is a versatile and reliable shrub that brings elegance and charm to any garden. With its spectacular blooms, easy care requirements, and adaptability, it’s a perfect choice for both novice and experienced gardeners. Whether used as a focal point, a hedge, or part of a mixed border, this stunning hydrangea will enhance your landscape for years to come.
Hydrangea arborescens, also known as smooth hydrangea, is a hardy and adaptable shrub that adds elegance to any garden. Planting it correctly ensures healthy growth and abundant blooms. This guide provides step-by-step instructions for planting Hydrangea arborescens, including a crucial step to hydrate the plant before planting for maximum success.
Proper preparation is key to successfully planting Hydrangea arborescens. Here’s what you need to do:
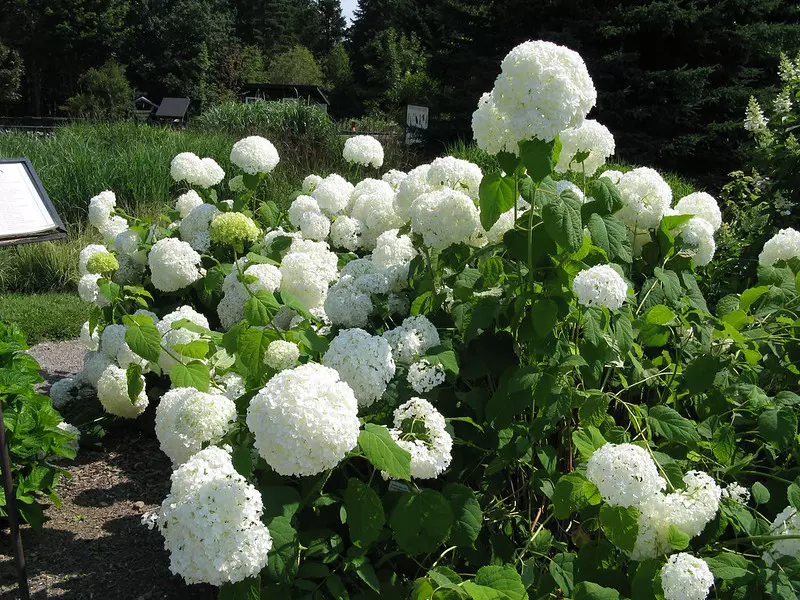
One of the most critical steps in planting Hydrangea arborescens is thoroughly hydrating the plant before it goes into the ground. This step ensures the root ball is fully saturated, helping the plant establish quickly and reducing transplant shock.
This step is essential regardless of the planting season or weather conditions, ensuring the plant has enough moisture to thrive immediately after planting.
Once the plant is hydrated, follow these steps to plant your Hydrangea arborescens successfully:
Proper aftercare ensures your hydrangea establishes well and continues to thrive:
Hydrangea arborescens can be planted at any time of year, provided the ground is not frozen. Spring and autumn are ideal for moderate temperatures, but with proper hydration and care, summer planting is also effective.
Planting Hydrangea arborescens correctly ensures it will thrive and reward you with beautiful blooms season after season. By taking the time to hydrate the plant before planting, preparing the soil, and following proper aftercare steps, you give your hydrangea the best possible start. With these tips, your garden will flourish with the stunning beauty of this hardy and versatile shrub.
Hydrangea arborescens is a hardy and beautiful shrub that produces large, spherical flower clusters. Proper pruning is essential to maintain its health, shape, and vibrant blooms. This guide explains when and how to prune Hydrangea arborescens, emphasising the importance of timing and the benefits of a bold pruning approach.
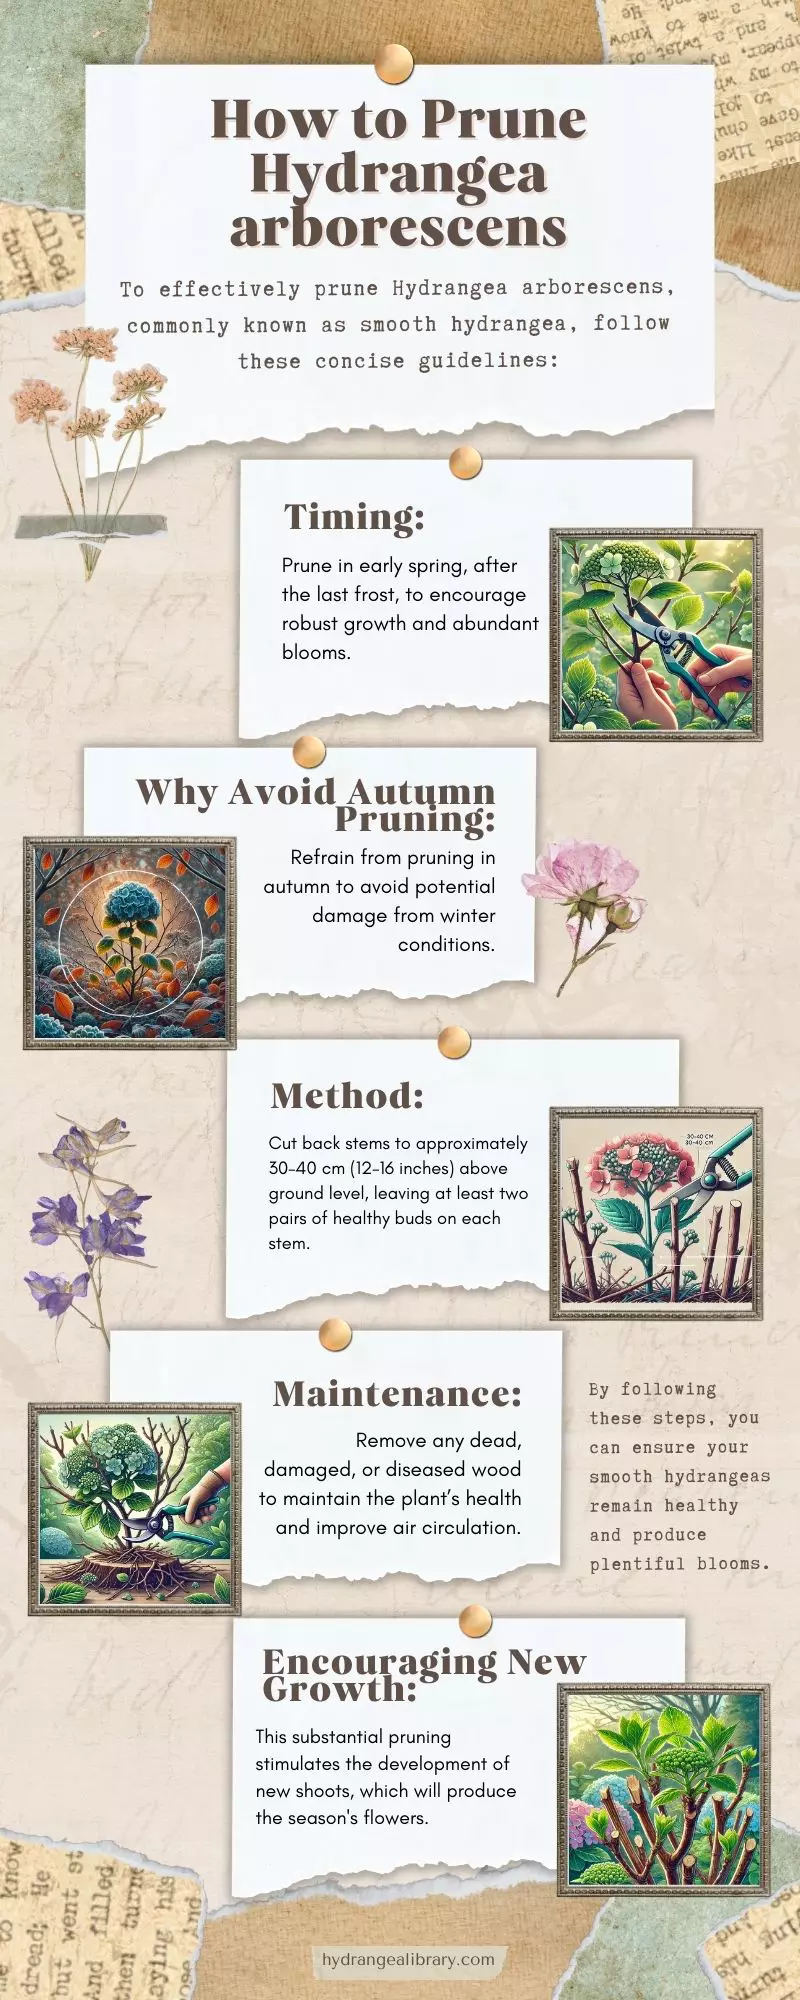
You can download the complete infographic in PDF format (printable version) here: Infographic on pruning Hortenzia arborescens PDF
One of the most important aspects of pruning Hydrangea arborescens is knowing the correct timing. Unlike other hydrangeas, this species blooms on new wood, meaning flowers develop on the current season’s growth. Here’s why and when you should prune:
Timing: Always wait until spring to prune, ideally around March, after the last frost has passed. Pruning earlier can expose the plant to frost damage, while pruning later can delay the start of new growth.
Avoid pruning in autumn. During winter, uncut stems act as a natural buffer against frost damage. If any part of the plant dies back due to severe frost, it is easier to manage in spring when pruning can focus on removing damaged sections. This ensures the plant has "extra growth" to sustain itself.
Pruning Hydrangea arborescens requires a bold approach. Here’s a step-by-step guide to ensure healthy growth and abundant blooms:
Do not be afraid to prune heavily:
Examine the plant for any weak, damaged, or dead stems. Remove these entirely to encourage air circulation and direct the plant’s energy toward healthy growth.
Shape the plant by evenly pruning all stems to maintain a rounded, balanced appearance. This promotes a uniform and bushy growth habit.
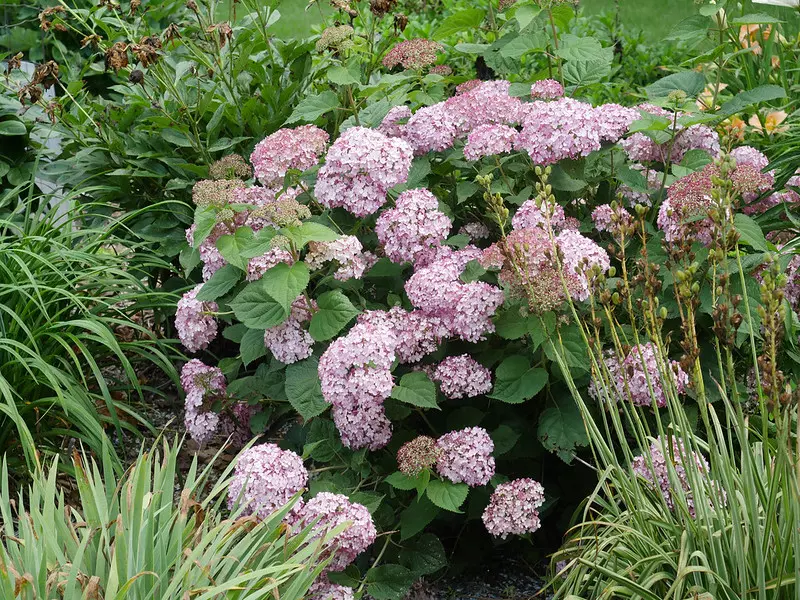
A drastic pruning approach benefits Hydrangea arborescens in several ways:
After pruning, proper care is essential to support healthy growth and blooming:
Pruning Hydrangea arborescens is a straightforward yet vital task that ensures the plant remains healthy, bushy, and productive. By waiting until spring and pruning boldly, you encourage vigorous new growth and abundant blooms. Don’t hesitate to cut back drastically—this hardy shrub thrives on it and will reward you with a stunning display year after year.
Smooth hydrangea is a resilient and adaptable shrub celebrated for its stunning blooms and ease of care. While it can thrive in a variety of soil types, understanding its soil preferences and optimising the planting conditions can significantly enhance its growth and flowering potential. This guide provides insights into the ideal soil conditions for Hydrangea arborescens and tips to prepare and maintain your soil for optimal results.
Hydrangea arborescens is highly adaptable but has some specific preferences that can help it thrive:
This hydrangea species grows well in a variety of soils, including:
Unlike some hydrangeas, the flower colour of Hydrangea arborescens is not influenced by soil pH. However, a slightly acidic to neutral pH range (5.5–7) is ideal for nutrient uptake and overall health.
Well-draining soil is crucial to prevent waterlogging, which can lead to root rot. Amend heavy soils with compost or sand to improve drainage.
Proper soil preparation lays the foundation for a healthy and thriving Hydrangea arborescens. Follow these steps to prepare your soil:
Mulching is an essential practice for maintaining healthy soil around Hydrangea arborescens. It offers several benefits:
Maintaining healthy soil ensures your Hydrangea arborescens continues to thrive. Here are some key practices:
If your Hydrangea arborescens shows signs of stress, the soil may be the culprit. Here are some common issues and how to resolve them:
Symptoms: Yellowing leaves, wilting, or root rot.
Solution: Amend the soil with compost or sand and ensure the planting area is not in a low spot where water collects.
Symptoms: Pale or stunted growth.
Solution: Apply a balanced fertiliser or organic compost to restore nutrient levels.
Symptoms: Poor nutrient uptake despite adequate fertilisation.
Solution: Use lime to raise pH or sulphur to lower it, depending on the test results.
Understanding and maintaining the right soil conditions for Hydrangea arborescens is key to its success in your garden. By providing well-draining, nutrient-rich soil and incorporating practices like mulching and regular maintenance, you can ensure your hydrangeas thrive and produce stunning blooms. With these tips, your garden will flourish with the beauty and resilience of this adaptable shrub.
Hydrangea arborescens is a hardy and adaptable shrub prized for its beautiful blooms and low-maintenance care. Propagating this hydrangea is a rewarding way to expand your garden or share its beauty with others. This guide explores the most effective propagation methods, including cuttings, division, and layering, to help you successfully grow new plants.
Propagation allows you to multiply your favourite hydrangeas at minimal cost. The benefits include:
There are several ways to propagate Hydrangea arborescens, each suitable for different skill levels and garden setups.
Taking cuttings is one of the most reliable and popular methods for propagating Hydrangea arborescens. Follow these steps:
Division is an effective method for mature hydrangeas with multiple stems. It’s best done in early spring or autumn. Here’s how:
Layering involves bending a branch to the ground to encourage rooting while still attached to the parent plant. This method is easy and requires minimal equipment:
To maximise your success rate, follow these tips:
Each propagation method suits different situations:
Propagating Hydrangea arborescens is a simple and rewarding way to expand your garden or share this stunning plant with others. Whether you choose cuttings, division, or layering, each method offers an effective path to growing healthy, new hydrangeas. With patience, care, and the right techniques, your efforts will yield beautiful results that enhance your garden for years to come.
The Smooth hydrangea is a hardy and resilient shrub, but even the toughest plants benefit from proper winter care. Protecting your hydrangea during the colder months ensures its survival and promotes healthy growth and abundant blooms in the spring. This guide highlights the key steps to protect Hydrangea arborescens from winter stress, with a focus on mulching and proper pruning timing.
Mulching is a critical step in safeguarding Hydrangea arborescens against winter’s harsh conditions. A thick layer of mulch acts as insulation, protecting the plant’s roots and reducing the risk of damage from fluctuating temperatures.
Pruning is an essential part of hydrangea care, but timing is crucial. For Hydrangea arborescens, pruning should always be done in spring, never in autumn. Here’s why:
The dried flower heads and stems left intact over winter provide a natural barrier against frost, shielding the plant’s buds and stems.
If frost damage occurs, the unpruned stems act as a buffer. You can remove the damaged portions in spring without affecting healthy growth.
Pruning in spring ensures you cut back to healthy, strong buds, stimulating vigorous new growth and abundant blooms.
When the risk of frost has passed, typically in March or April, it’s time to prune Hydrangea arborescens. Follow these steps:
Beyond mulching and delaying pruning, here are some extra measures to ensure your hydrangea survives winter unscathed:
Once winter has passed, it’s time to prepare your hydrangea for a new season of growth:
Protecting Hydrangea arborescens during winter is essential for ensuring its health and beauty in the growing season. By applying a thick layer of mulch, waiting until spring to prune, and following these additional tips, you can safeguard your plant from frost damage and encourage robust growth. With proper care, your hydrangea will reward you with stunning blooms year after year.
Hydrangea arborescens is a resilient shrub, but it is not entirely immune to diseases. Proper care and attention can minimise risks, ensuring your plant remains healthy and thrives. This guide outlines common diseases affecting Hydrangea arborescens, preventive measures, and effective treatments using both organic and conventional methods.
While Hydrangea arborescens is generally hardy, it can be affected by the following diseases under certain conditions:
Symptoms: A white, powdery coating appears on leaves and stems, leading to discoloured and distorted foliage.
Causes: High humidity and poor air circulation create ideal conditions for this fungal infection.
Symptoms: Circular brown or black spots on leaves, often surrounded by a yellow halo. Severe cases can cause premature leaf drop.
Causes: Fungal pathogens, often spread by water splash during heavy rain or overhead watering.
Symptoms: Orange or reddish-brown pustules form on the undersides of leaves, sometimes spreading to other parts of the plant.
Causes: Fungal spores spread by wind or water.
Symptoms: Yellowing leaves, wilting, and stunted growth. The roots may appear brown and mushy.
Causes: Waterlogged soil and poor drainage create conditions for fungal pathogens to thrive.
Prevention is the most effective way to manage diseases in Hydrangea arborescens. Implement these strategies to reduce risks:
Choose a spot with good air circulation and partial to full sun. Avoid overcrowding plants to allow airflow and reduce humidity around foliage.
Water at the base of the plant to keep foliage dry and reduce the spread of fungal spores. Use soaker hoses or drip irrigation where possible.
Ensure the planting area has well-draining soil to prevent waterlogging. Amend clay-heavy soil with organic matter like compost or sand.
Apply a 5–8 cm layer of organic mulch to retain soil moisture, suppress weeds, and prevent soil-borne pathogens from splashing onto leaves.
Remove dead or diseased branches and thin out overcrowded growth to improve air circulation. Always sterilise pruning tools to avoid spreading pathogens.
Clear away fallen leaves and plant debris to reduce sources of fungal spores and pests.
If your Hydrangea arborescens shows signs of disease, act promptly to minimise damage. Both organic and conventional treatments can be effective:
Keeping your Hydrangea arborescens healthy requires consistent care and monitoring. Follow these tips for long-term disease prevention:
While Hydrangea arborescens is a hardy and reliable plant, it can still be susceptible to certain diseases. By following preventative measures, using organic and conventional treatments as needed, and maintaining consistent care, you can keep your hydrangea healthy and flourishing. With proper attention, this beautiful shrub will continue to enhance your garden for years to come.
The smooth hydrangea is a hardy and resilient plant, but it is not entirely immune to pests. Protecting your hydrangea using eco-friendly methods ensures a thriving, chemical-free garden while safeguarding the environment. This guide explores common pests affecting Hydrangea arborescens, prevention strategies, and organic treatment methods to keep your plants healthy and pest-free.
While Hydrangea arborescens is relatively resistant to pests, certain insects can occasionally pose problems:
Symptoms: Tiny, soft-bodied insects cluster on new growth, causing curling or yellowing leaves and a sticky residue (honeydew).
Why They Appear: Warm, humid conditions and tender new growth attract aphids.
Symptoms: Fine webbing, yellow speckles on leaves, and eventual leaf drop.
Why They Appear: Hot, dry conditions favour spider mite infestations.
Symptoms: Small, hard-shelled bumps on stems and leaves, leading to weakened growth and sticky honeydew.
Why They Appear: Stressful conditions, such as drought or poor soil, can make plants more susceptible.
Symptoms: Large, irregular holes in leaves, particularly on younger plants.
Why They Appear: Damp, shady conditions encourage slug and snail activity.
Preventing pests is the first step in eco-friendly pest management. Use these strategies to keep your Hydrangea arborescens pest-free:
Natural predators like ladybirds, lacewings, and parasitic wasps feed on pests such as aphids and spider mites. Attract these insects by planting companion plants such as dill, fennel, or marigolds nearby.
Healthy, well-maintained plants are less attractive to pests. Provide adequate water, nutrients, and light to keep your hydrangeas robust and stress-free.
Prune regularly to reduce overcrowding and improve airflow, which discourages pests like spider mites.
Apply a 5–8 cm layer of organic mulch around the base of the plant. Mulch suppresses weeds, retains moisture, and creates an inhospitable environment for slugs and snails.
Check your plants weekly for signs of pests. Early detection allows for quicker, more effective control.
If pests appear, address the issue promptly with these natural and organic solutions:
Neem oil is an effective, organic treatment for aphids, spider mites, and scale insects. Mix neem oil with water according to the manufacturer’s instructions and spray on affected areas. Repeat every 7–10 days until the infestation subsides.
Mix 1 tablespoon of mild liquid soap with 1 litre of water and spray directly onto pests. This treatment is particularly effective for aphids and spider mites.
For small infestations, remove pests like scale insects or aphids by hand. Use a cotton swab dipped in rubbing alcohol to dislodge scale insects from stems and leaves.
Protect your plants from slugs and snails by placing copper tape around the base of the plant or creating physical barriers using crushed eggshells or diatomaceous earth.
For slugs, set shallow dishes filled with beer near your hydrangeas. Slugs are attracted to the beer, fall in, and cannot escape.
Incorporating these practices into your garden routine helps prevent recurring pest issues:
Eco-friendly pest management for Hydrangea arborescens protects your plants while maintaining a healthy, sustainable garden. By focusing on prevention, using natural remedies, and promoting biodiversity, you can effectively manage pests without relying on harmful chemicals. With proper care and attention, your hydrangeas will flourish, providing stunning blooms and contributing to a thriving garden ecosystem.
The Hydrangea arborescens is a versatile shrub that thrives in various garden settings. By pairing it with the right companion plants, you can enhance its beauty, support its growth, and create a balanced, thriving garden. This guide explores ideal companion plants, their benefits, and how to design harmonious planting schemes around your Hydrangea arborescens.
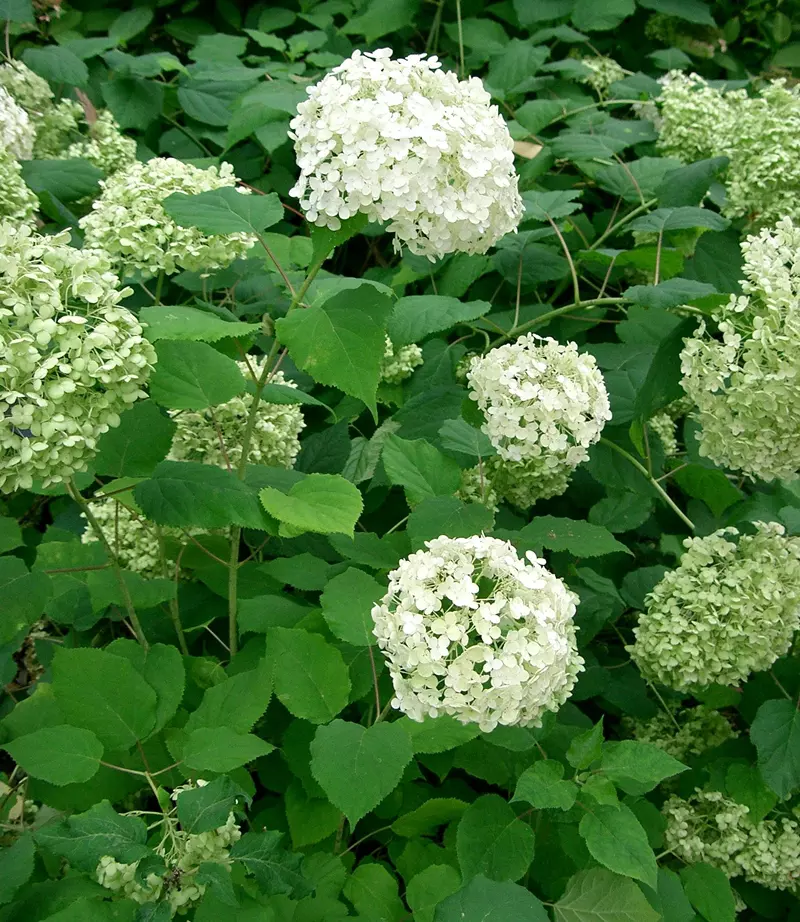
Companion planting involves growing plants together that complement and support each other. For Hydrangea arborescens, the benefits of companion planting include:
Pair Hydrangea arborescens with plants that share similar growing conditions, such as partial shade and well-draining, moist soil. Here are some excellent choices:
Thoughtful design is key to successful companion planting. Use these tips to create a balanced and visually appealing garden:
To keep your garden thriving, maintain consistent care for both hydrangeas and their companions:
While many plants make excellent companions, some should be avoided:
Companion planting with Hydrangea arborescens enhances the beauty and health of your garden. By choosing plants with complementary growth habits, textures, and bloom times, you can create a dynamic and visually appealing landscape. With thoughtful design and consistent care, your hydrangeas and their companions will thrive, offering a garden full of life and colour.
Hydrangea arborescens, or smooth hydrangea, is a beloved shrub renowned for its showy blooms and adaptability. Its rounded clusters of flowers and reliable growth make it a versatile choice for a variety of garden styles. Whether you are designing a formal garden or a naturalistic border, Hydrangea arborescens can play a key role in enhancing the beauty and functionality of your landscape.
This hardy hydrangea is prized for its many desirable qualities:
Hydrangea arborescens can be used in many ways to elevate your garden’s design. Here are some ideas:
With its large, rounded blooms, Hydrangea arborescens makes a striking focal point in any garden. Plant it in a prominent location, such as the centre of a flower bed or near a patio, to draw the eye and create visual interest.
Pair smooth hydrangeas with perennials, grasses, and shrubs to create a layered and dynamic border. Their bold flowers provide contrast to finer textures and smaller blooms.
Use Hydrangea arborescens in woodland or cottage-style gardens to complement other shade-loving plants such as ferns, hostas, and astilbes. Its soft, rounded flowers add a romantic and organic feel.
Plant hydrangeas in a row to create an informal hedge that offers privacy while showcasing stunning blooms. Their dense foliage adds structure and texture to the landscape.
Compact varieties like ‘Incrediball’ or ‘Invincibelle Spirit’ are perfect for large containers, making them suitable for patios, balconies, or small gardens.
Combine Hydrangea arborescens with companion plants that complement its form and growing requirements:
Follow these tips to make the most of Hydrangea arborescens in your garden:
Keep your Hydrangea arborescens looking its best with these simple maintenance tips:
Hydrangea arborescens is a versatile and reliable choice for any garden, offering stunning blooms and easy maintenance. Whether used as a focal point, a hedge, or part of a mixed border, it brings beauty and structure to the landscape. By combining it with complementary plants and following thoughtful design principles, you can create a garden that is both functional and visually captivating.

Comprehensive guide on Hydrangea arborescens 'Annabelle'. Learn expert tips on planting, care, pruning, and maintaining vibrant blooms.
Read More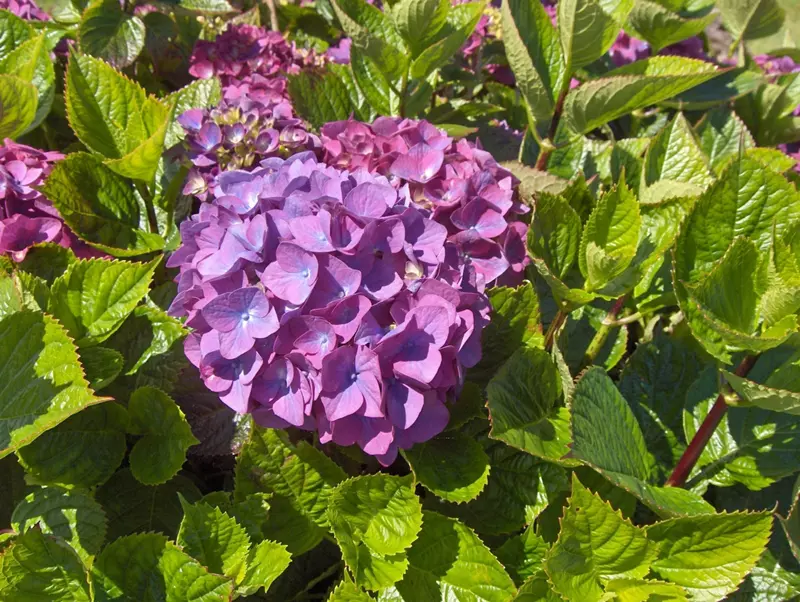
A complete guide to Hydrangea serrata, including planting, pruning, soil adjustments, eco-friendly pest management, propagation, and garden design ideas.
Read More
Discover the Hydrangea serrata 'Euphoria Pink', a stunning variegated hydrangea with vibrant pink blooms. Learn about its characteristics, cultivation, and care in this comprehensive guide.
Read More