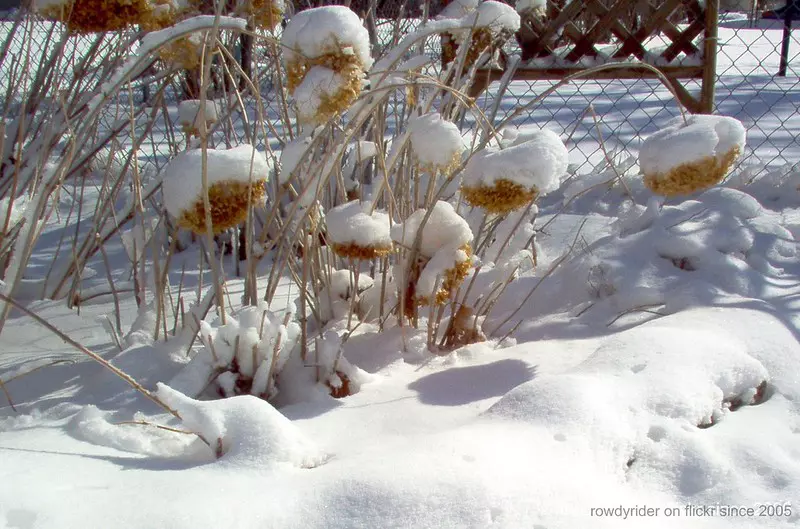
Protecting Hydrangeas in Winter - Tips for Cold Climates
Your ultimate guide to protecting hydrangeas in winter for cold climates. Learn expert tips for mulching, frost protection, and proper spring pruning.
Read MoreAlso useful: Pruning depends on what you grow—identify your type first: 10 Stunning Hydrangea Varieties Loved Across the USA (old wood vs new wood basics included).
Pruning is essential for maintaining healthy and vibrant hydrangeas, but timing is everything. Spring pruning is preferred because hydrangeas are emerging from dormancy and starting a new growth cycle. Pruning during this time ensures the plant has optimal conditions to heal and thrive.
Complete guide: Pruning is just one part of strong blooms. Use the complete Planting & Care Guide to make sure watering, soil, feeding, and timing all work together.
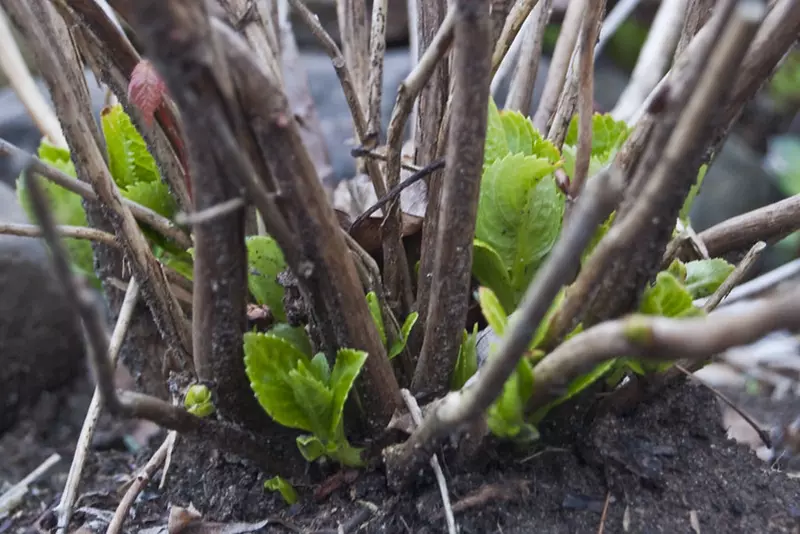
While autumn pruning might seem convenient, it can expose the plant to significant risks. Here’s why pruning in autumn should be avoided:
Spring pruning is highly beneficial for hydrangeas. Here’s how it helps:
Hydrangeas follow a natural cycle of dormancy in winter and active growth in spring. Pruning aligns with this cycle by:
To ensure successful spring pruning, follow these tips:
Pruning hydrangeas in spring is the best way to maintain their health, beauty, and resilience. Avoid the pitfalls of autumn pruning and take advantage of the plant’s natural growth cycle to ensure a garden full of vibrant blooms. By following these guidelines, your hydrangeas will reward you with stunning displays year after year.
Pruning hydrangeas at the right time is critical for their health and flowering potential. Spring is the preferred season for pruning because it aligns with the plant's natural growth cycle. Timing your pruning correctly ensures robust growth, vibrant blooms, and minimal risk of frost damage.
In the UK, the best time to prune hydrangeas is between late February and early April. This period allows you to:
Be mindful of regional variations in weather and climate, as colder areas may require you to delay pruning slightly compared to milder regions.
Knowing when to prune is not just about the calendar; it’s also about observing your plant. Look for these signs to determine the right moment:
Pruning hydrangeas too early in the season can lead to complications, including:
It’s better to wait a few extra weeks than to risk compromising the health of your plant.
While early spring is optimal, pruning too late in the season can also present challenges:
Aim to complete pruning before the plant enters its vigorous growth phase in mid-spring.
Timing is everything when it comes to spring pruning of hydrangeas. By pruning between late February and early April, and paying attention to plant and weather cues, you can ensure a healthy, blooming garden. Proper timing not only protects your hydrangeas from frost but also sets them up for a season of vibrant growth and stunning flowers.
Using clean, sharp tools is essential when pruning hydrangeas to maintain plant health and promote growth. Dirty or dull tools can introduce diseases and cause unnecessary damage to your plants. Preparing and sterilising your tools ensures clean cuts, reduces the risk of infection, and keeps your hydrangeas thriving.
Before you begin, gather the necessary tools:
Follow these steps to properly prepare and sterilise your pruning tools:
Avoid these pitfalls when preparing and sterilising your tools:
Worth reading: In high humidity, pruning is mainly about airflow (not “cutting back hard”). Here’s the full humidity-focused guide: How to Grow Hydrangeas in Tropical Humidity.
Properly preparing and sterilising your tools is a vital step in ensuring the success of your spring pruning efforts. Clean, sharp, and sterilised tools protect your hydrangeas from disease, encourage healthy growth, and make the pruning process more efficient. By following these guidelines, you can keep your tools in excellent condition and enjoy a garden full of healthy, thriving hydrangeas.
Pruning hydrangeas is essential to encourage healthy growth, maintain their shape, and ensure vibrant blooms. Different hydrangea varieties require specific pruning methods, making it crucial to understand your plant before you begin.
Ensure you have the right tools before starting:
Follow these steps to prune your hydrangeas effectively:
Different hydrangea varieties require specific pruning approaches:
Look for dead, diseased, or damaged branches. These should be removed first to encourage healthy growth.
Use sharp pruning shears to cut back stems that are no longer viable. Cut at a slight angle to encourage water runoff.
Prune stems to create a balanced shape. For mophead varieties, avoid cutting back too much, as this may reduce flowering.
For varieties like paniculata and arborescens, cut back to healthy buds or nodes to encourage fresh growth.
Collect and discard all clippings to prevent disease and pests. Composting is fine if the plant is disease-free.
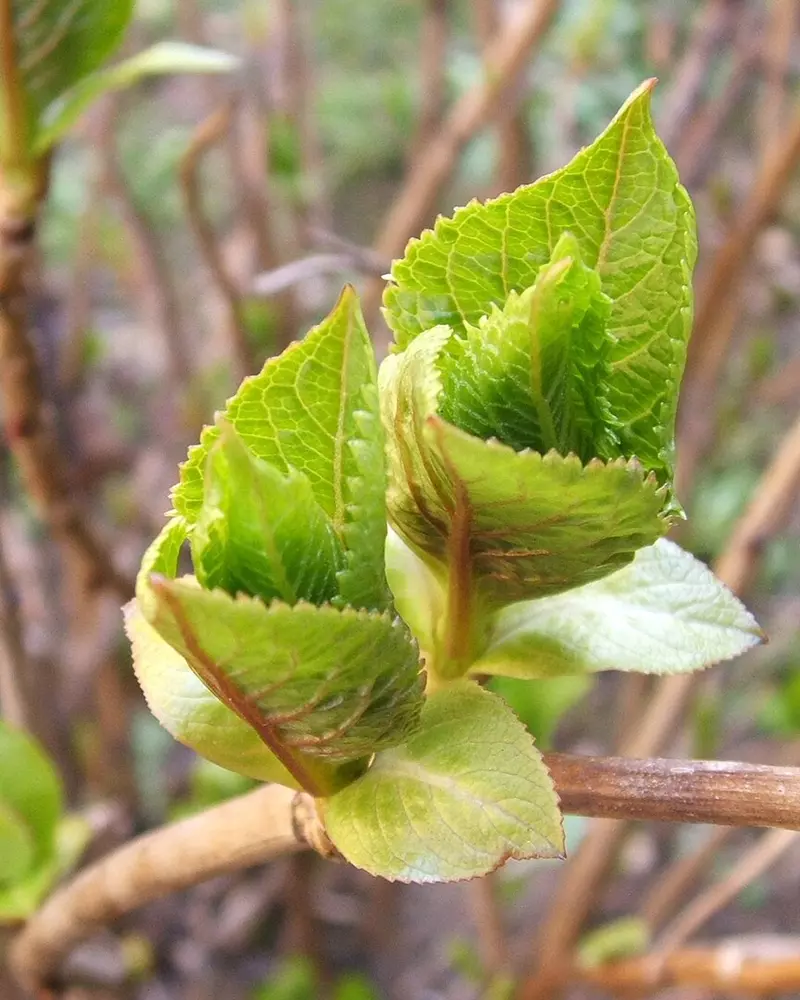
Let’s take a closer look at how to prune specific hydrangea types:
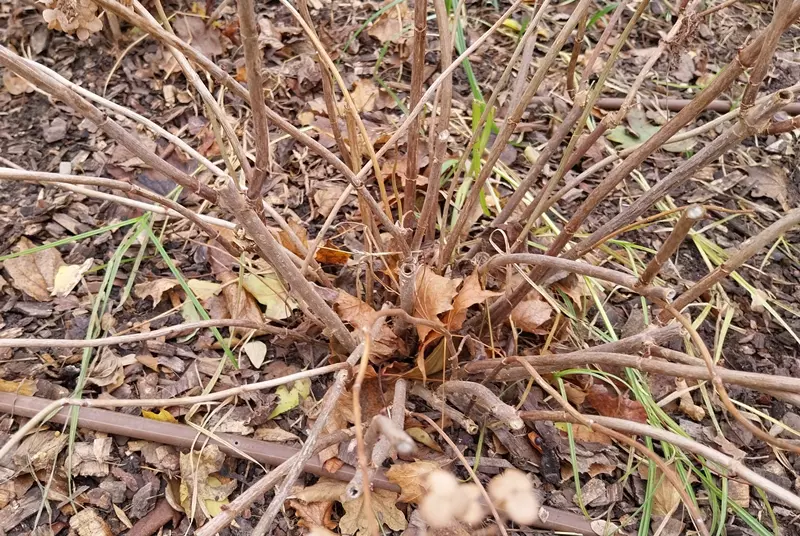
Keep these tips in mind for the best results:
Pruning hydrangeas can seem daunting, but following this step-by-step guide ensures success. By understanding your plant’s variety and needs, you can shape, rejuvenate, and encourage beautiful blooms. Happy gardening!
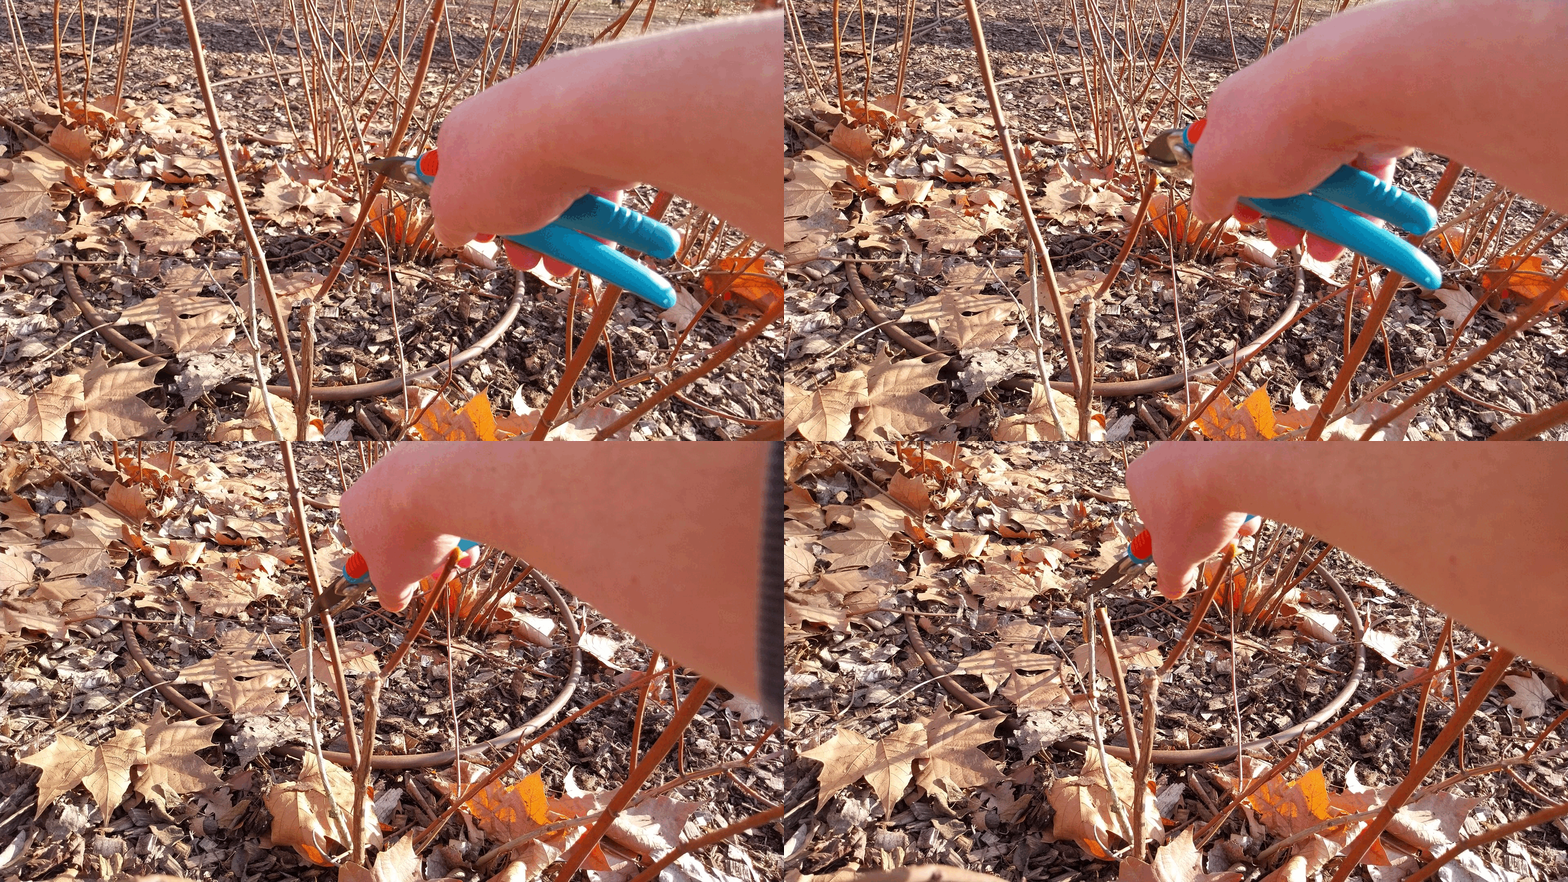
Hydrangeas thrive in moist, well-drained soil rich in organic matter. Incorporating compost or well-rotted manure can enhance soil structure and fertility. For chalky soils, adding organic matter helps support good growth.
Consistent moisture is vital for hydrangeas, especially during dry spells. Water deeply to ensure the root zone remains hydrated, but avoid waterlogging, which can lead to root rot. Morning watering is preferable to reduce evaporation and prevent fungal issues.
Applying a mulch layer around the base of hydrangeas helps retain soil moisture, regulate temperature, and suppress weeds. Organic mulches like leaf mould, garden compost, or manure-based soil conditioner are beneficial. Leave a gap around the stem to prevent rot.
Feeding hydrangeas with a balanced fertiliser in spring promotes vigorous growth and abundant blooms. General fertilisers such as Vitax Q4, Growmore, or Fish, Blood and Bone are suitable. Avoid over-fertilising, as excessive nutrients can lead to lush foliage with fewer flowers.
Regularly inspect hydrangeas for pests like aphids, scale insects, and vine weevils. Early detection allows for prompt control measures, such as handpicking or using appropriate insecticides. Ensure good air circulation around plants to minimise fungal diseases like powdery mildew.
Proper pruning encourages healthy growth and flowering. The timing and method depend on the hydrangea species. For example, mophead and lacecap hydrangeas benefit from pruning in late winter or early spring, while climbing hydrangeas are pruned after flowering in summer.
In colder regions, protect hydrangeas from frost damage by leaving the faded flower heads on mophead hydrangeas over winter. This provides some frost protection for the tender growth buds below. Remove the dead flower heads in early spring.
By following these additional care tips, you can ensure your hydrangeas remain healthy and vibrant, enhancing the beauty of your garden throughout the growing season.
Pruning hydrangeas in spring is essential for maintaining their health and ensuring vibrant blooms. However, improper pruning can lead to reduced flowering and plant stress. Understanding common mistakes and how to avoid them will help you care for your hydrangeas effectively.
Timing is crucial when pruning hydrangeas. Pruning at the incorrect time can remove buds that would produce flowers in the upcoming season.
Pruning at the wrong time can result in a lack of blooms for the season.
Excessive pruning can weaken hydrangeas and reduce flowering.
Over-pruning can lead to fewer flowers and a less vigorous plant.
Failing to remove dead, diseased, or damaged wood can hinder plant health and flowering.
Neglecting this can result in poor growth and increased susceptibility to pests and diseases.
Using incorrect cutting methods can damage the plant and invite disease.
Proper cutting techniques are vital for plant health and optimal flowering.
Different hydrangea species have unique pruning requirements.
A one-size-fits-all approach can lead to poor results and reduced blooms.
Avoiding these common mistakes when spring pruning hydrangeas will help maintain healthy plants and ensure a beautiful display of blooms. Understanding the specific needs of your hydrangea species and employing proper pruning techniques are key to successful hydrangea care.
Hydrangeas are cherished for their vibrant blooms, but improper pruning can lead to a lack of flowers. Understanding the blooming habits of your hydrangea variety is crucial to ensure proper care.
Hydrangeas are classified based on whether they bloom on old wood (last year's growth) or new wood (current year's growth):
That said, Hydrangea quercifolia generally requires very little intervention. The less it is pruned, the more profusely it tends to flower, making it ideal for gardeners who prefer a lower-maintenance approach.
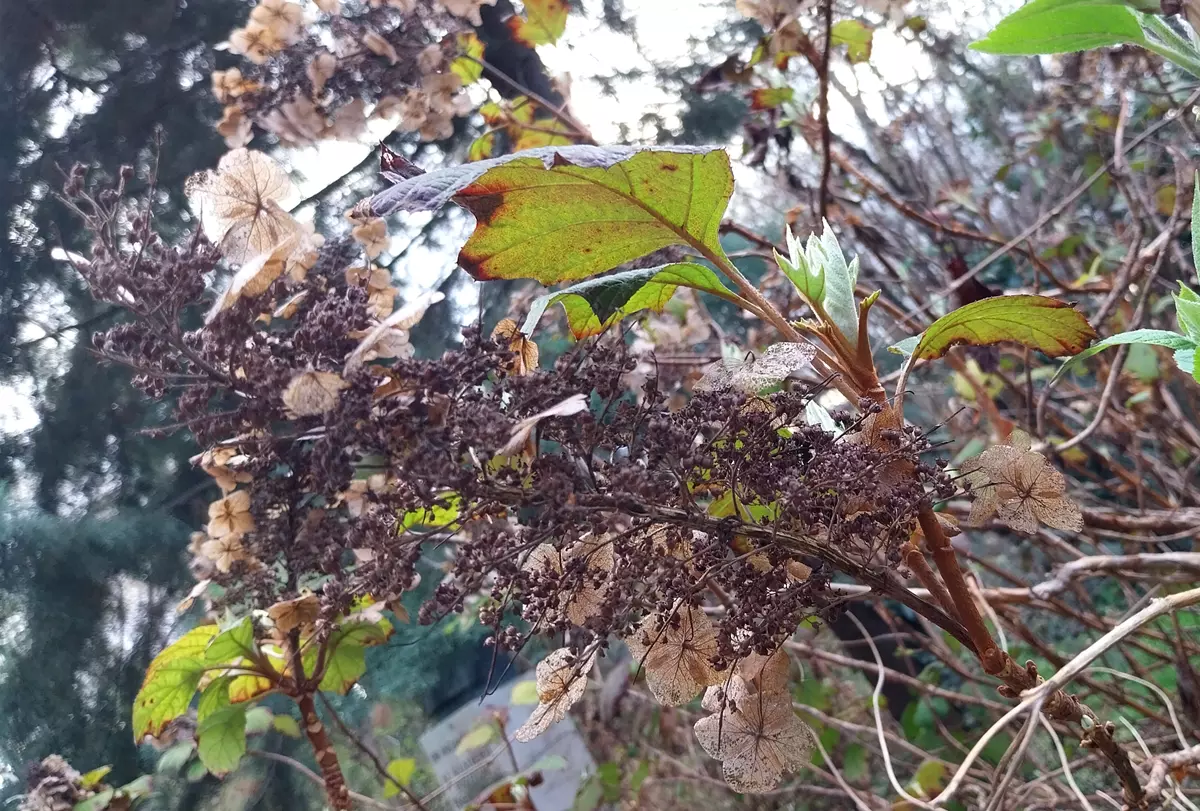
Pruning at the wrong time is a primary cause of hydrangeas failing to bloom. For old wood bloomers, pruning in spring removes the buds set the previous year. It's recommended to prune these varieties immediately after they finish flowering.
Excessive pruning can remove too much of the plant's structure, including potential flowering buds. Hydrangeas generally require minimal pruning; often, removing dead or weak stems is sufficient.
Factors such as late frosts can damage emerging buds, leading to a lack of blooms. Ensuring proper timing and protection can mitigate these issues.
Uneven growth in hydrangeas can result from improper pruning techniques, environmental factors, or inherent growth habits. Addressing this issue is essential to maintain the plant's aesthetic appeal and overall health.
Incorrect pruning methods, such as cutting back stems unevenly or at inappropriate times, can lead to lopsided growth. For instance, over-pruning one side of the plant can cause an imbalance in nutrient distribution, resulting in uneven development.
Unequal exposure to sunlight, wind, or moisture can cause certain parts of the hydrangea to grow more vigorously than others. For example, a hydrangea planted near a structure may receive uneven sunlight, leading to one side growing more robustly.
Variations in soil fertility and drainage can affect growth patterns. Areas with richer soil or better drainage may support more vigorous growth, causing asymmetry in the plant's appearance.
Begin by thoroughly examining the hydrangea to identify areas of excessive or stunted growth. Understanding the extent of unevenness will guide your corrective actions.
Use sharp, sterilised pruning tools to trim overgrown sections, promoting balanced growth. Focus on cutting back vigorous stems to a pair of healthy buds, encouraging uniform development.
Ensure the hydrangea receives even sunlight by trimming nearby vegetation or relocating the plant if necessary. Mulching can help regulate soil moisture, promoting consistent growth across the plant.
Apply a balanced, slow-release fertiliser in early spring to support even growth. Avoid over-fertilising, as excessive nutrients can lead to disproportionate development.
Regularly inspect the hydrangea for signs of uneven growth. Consistent maintenance, including proper watering, mulching, and timely pruning, will help sustain a balanced and healthy plant.
To prevent recurrence, adhere to recommended pruning schedules based on your hydrangea species. Ensure the plant is situated in an environment with uniform light and moisture conditions. Regular maintenance and attentive care are key to promoting symmetrical growth.
Pruning hydrangeas at the correct time is essential for promoting healthy growth and abundant blooms. The appropriate timing largely depends on the specific type of hydrangea and its blooming habits.
April is generally considered a suitable time for pruning certain hydrangea species, particularly those that bloom on new wood. However, caution is necessary to avoid inadvertently removing developing buds on varieties that bloom on old wood.
Species such as Hydrangea paniculata and Hydrangea arborescens produce flowers on the current year's growth. Pruning these varieties in early spring, including April, encourages vigorous new growth and enhances flowering potential. It's recommended to cut back the previous year's growth to a healthy framework, typically between 30cm and 60cm high, just above a pair of healthy buds.
Varieties like mophead and lacecap hydrangeas (Hydrangea macrophylla) set their flower buds on the previous year's growth. Pruning these in April can remove the developing buds, resulting in reduced or absent blooms for that season. For these types, it's best to remove old flower heads in early spring, cutting back the stem to the first strong, healthy pair of buds below the faded bloom.
Pruning hydrangeas in April can be beneficial, particularly for species that bloom on new wood. However, it's crucial to identify your hydrangea type and understand its blooming habits to avoid inadvertently removing buds and diminishing the flowering display. By adhering to appropriate pruning practices, you can ensure your hydrangeas remain healthy and produce abundant blooms.
The best time to prune most hydrangeas in the UK is between late February and early April, after the last frost but before new growth accelerates.
Yes, April is still a suitable time to prune, particularly for varieties that bloom on new wood. Just avoid cutting off developing buds if your plant flowers on old wood.
Pruning too early can expose fresh cuts to frost damage and slow down the plant's recovery, potentially affecting blooms.
Hydrangea macrophylla and oakleaf hydrangeas bloom on old wood, while panicle and smooth hydrangeas bloom on new wood. Check your variety before pruning.
Not always. Some types, like climbing and oakleaf hydrangeas, require minimal pruning. Others benefit from annual pruning to shape and encourage blooming.
Remove dead or damaged stems and shape the plant lightly. For new-wood bloomers, you can cut back by one-third or more; for old-wood types, prune only lightly.
Use sharp, sterilised pruning shears for small stems and loppers for thicker branches. Clean tools help prevent disease transmission.
Yes. Removing old flower heads in early spring helps direct energy to new growth. Cut just above the first pair of healthy buds.
You may have pruned too late or too harshly, especially if your plant blooms on old wood. Check the pruning schedule for your hydrangea type.
Yes. In spring, cut away frost-damaged or blackened stems down to healthy tissue to stimulate new growth.
Yes. Light pruning helps potted hydrangeas stay compact and healthy. Remove dead stems and spent blooms in spring.
Climbing hydrangeas should be pruned in summer after flowering. Remove unwanted shoots and shape the plant as needed.
Only certain types, like Hydrangea arborescens and Hydrangea paniculata, tolerate hard pruning. Other varieties may not bloom if cut back too severely.
Dispose of pruned stems in green waste or compost them if disease-free. Do not leave them around the plant as they may harbour pests.
Yes. After pruning, applying a balanced fertiliser helps support new growth and healthy blooming throughout the season.
By following these steps and tips, your hydrangeas will remain healthy and vibrant throughout the growing season. Happy gardening!

Your ultimate guide to protecting hydrangeas in winter for cold climates. Learn expert tips for mulching, frost protection, and proper spring pruning.
Read More
A comprehensive month-by-month hydrangea care calendar to ensure your plants thrive throughout the year.
Read More
Explore natural and eco-friendly methods to protect hydrangeas from pests and diseases. Learn bee-safe strategies to maintain healthy plants.
Read More