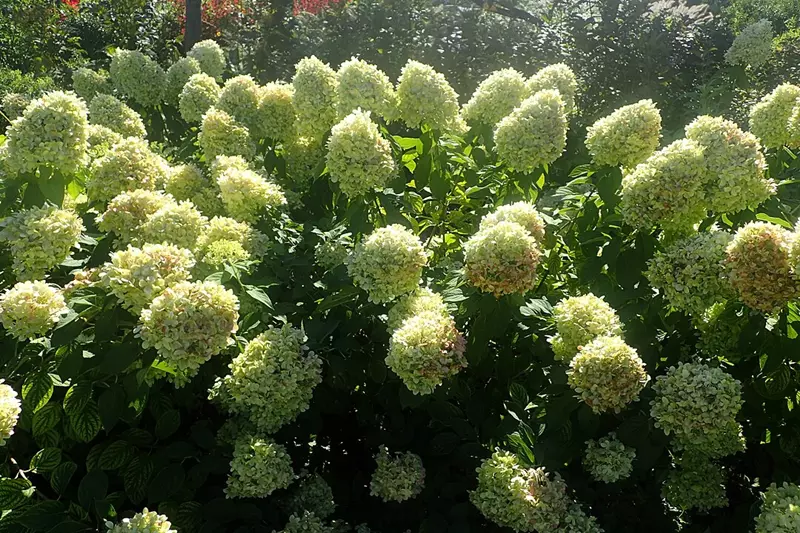
Hydrangea paniculata 'Limelight' - Care, Planting, and Pruning Guide
Discover how to grow and care for Hydrangea paniculata 'Limelight'. Learn about planting, maintenance, pruning, and the stunning beauty of this versatile shrub.
Read MoreHydrangea paniculata, commonly known as panicle hydrangea, is a beloved shrub renowned for its large, conical flower clusters and hardy nature. Originating from East Asia, particularly China, Korea, and Japan, this species has become a favourite in gardens worldwide due to its versatility and stunning floral displays.
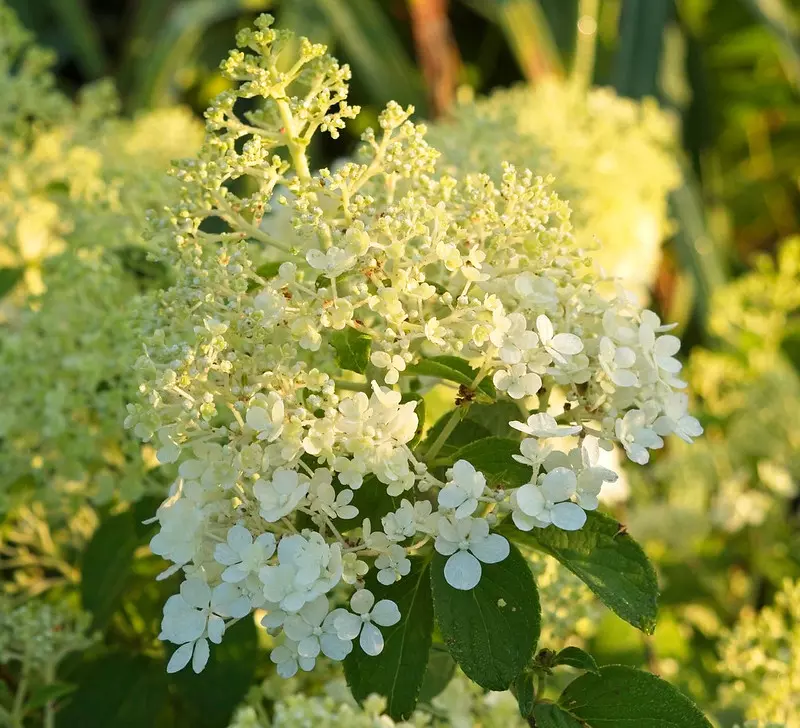
Hydrangea paniculata is unique among hydrangeas for its distinctive growth habits and flower forms. Here are some notable features:
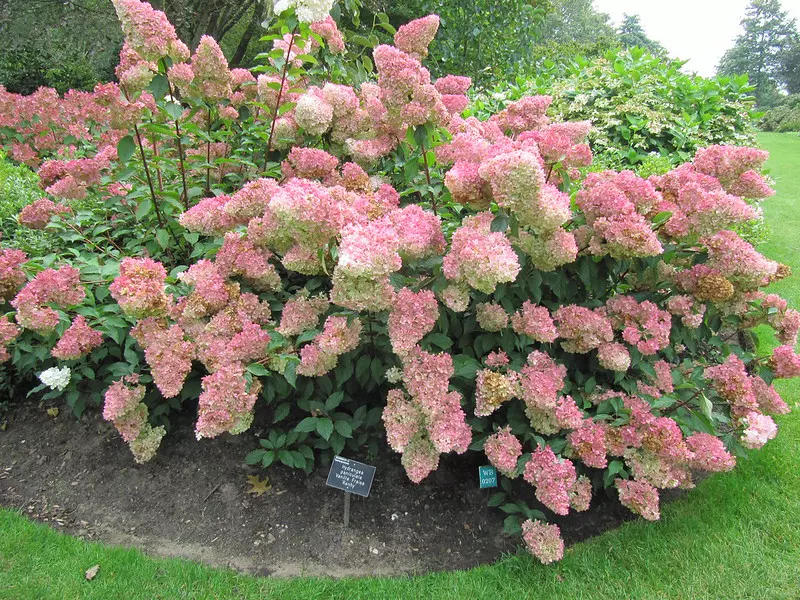
Hydrangea paniculata is a robust and adaptable plant that performs well in a range of environments, but it has specific preferences:
Unlike many other hydrangeas, Hydrangea paniculata is sun-loving. It thrives in full sun but can also grow well in dappled shade, such as beneath a lightly foliated tree. Adequate sunlight promotes stronger stems and more abundant flowering.
It prefers well-draining soil enriched with organic matter. While it tolerates a variety of soil types, slightly acidic to neutral soil yields the best results.
Regular watering is essential during the establishment period. Once mature, it becomes moderately drought-tolerant but benefits from consistent moisture during hot spells.
This hydrangea is winter-hardy, tolerating temperatures as low as -30°C, making it ideal for cooler climates.
Hydrangea paniculata comes in a range of sizes and forms, offering options for every type of garden:
These shrubs can reach heights of 2–4 metres, making them ideal for borders or as stand-alone specimens. Examples include:
Perfect for smaller gardens or container planting, dwarf varieties grow to around 1 metre. Examples include:
Some cultivars are trained into tree forms, creating elegant focal points in larger gardens.
Hydrangea paniculata is an excellent choice for gardeners seeking a low-maintenance yet visually striking plant. It’s particularly suitable for:
This hydrangea adds versatility to garden designs. Here are some ideas:
Hydrangea paniculata is a versatile, sun-loving hydrangea that offers beauty and resilience in equal measure. Its wide variety of sizes and forms makes it suitable for gardens of all styles and scales. Whether you’re an experienced gardener or a beginner, incorporating this adaptable shrub into your garden ensures a long-lasting and visually appealing addition to your landscape.
Planting Hydrangea paniculata correctly ensures that it thrives and rewards you with years of beauty. This guide provides detailed, step-by-step instructions to help you plant your hydrangea with confidence and success.
Proper preparation is essential for planting Hydrangea paniculata. Follow these preliminary steps to set your plant up for success:
One of the most crucial steps when planting Hydrangea paniculata is properly hydrating the plant before it goes into the ground. Regardless of the time of year or weather conditions, this step increases the plant's chance of survival and ensures it establishes quickly.
This process ensures that the soil within the pot is fully saturated, preventing the plant from drying out after planting and encouraging a strong start.
Follow these steps to plant your hydrated Hydrangea paniculata successfully:
After planting, proper care ensures your hydrangea establishes quickly and grows healthily:
The best time to plant Hydrangea paniculata is during spring or autumn when temperatures are moderate. However, with proper hydration and care, it can be planted at any time of year, as long as the ground isn’t frozen or waterlogged.
Planting Hydrangea paniculata correctly is a straightforward process that ensures your shrub thrives for years to come. By hydrating the plant before planting, preparing the soil, and providing proper aftercare, you set the stage for a vibrant, healthy hydrangea that will enhance your garden’s beauty. With these tips, your hydrangea is sure to flourish and bring you joy season after season.
Pruning is an essential part of maintaining the health and beauty of Hydrangea paniculata, commonly known as panicle hydrangea. This robust and versatile shrub produces flowers on new wood, meaning that correct pruning not only ensures stunning blooms but also encourages bushier growth. This guide explains why, when, and how to prune Hydrangea paniculata for the best results.
Contrary to common belief, Hydrangea paniculata should only be pruned in spring, once the risk of frost has passed. The earliest recommended time is around March, depending on your local climate. Avoid pruning in autumn, even though this variety is frost-hardy. By delaying pruning until spring, you allow the plant to use its older growth as a buffer against potential frost damage. If frost does cause damage, the plant has "extra growth" to spare, which can be removed during spring pruning.
Hydrangea paniculata blooms on new wood, meaning flowers develop on the current season’s growth. Pruning encourages fresh shoots, which results in more flowers and a bushier plant. Additionally, every pruning point produces new branches, further increasing the density of blooms. Without regular pruning, the plant can become overgrown and produce fewer flowers.
Follow these steps to prune your hydrangea effectively:
Ensure you have clean, sharp pruning shears or loppers. Clean tools reduce the risk of spreading disease to your plant.
Unlike some other hydrangea varieties, Hydrangea paniculata benefits from a drastic pruning:
Inspect the plant for any dead, weak, or damaged stems and remove them at their base. This improves air circulation and directs the plant's energy toward healthy growth.
Prune the remaining stems evenly to create a balanced, symmetrical shape. This ensures uniform growth and a visually appealing structure.
Drastic pruning may seem intimidating, but it is essential for Hydrangea paniculata. Here’s why:
To ensure your Hydrangea paniculata thrives after pruning, keep these tips in mind:
Pruning Hydrangea paniculata is a straightforward and rewarding task that ensures your shrub remains healthy, bushy, and full of blooms. By pruning in spring and cutting back boldly, you not only shape your plant but also maximise its flowering potential. Don’t be afraid to prune hard—this hardy hydrangea thrives on it and will reward you with an even more spectacular display each year.
Hydrangea paniculata, or panicle hydrangea, is a highly adaptable shrub that thrives in a wide range of soil conditions. Known for its sun-loving nature and robust growth, this hydrangea species is also relatively drought-tolerant compared to other hydrangeas, making it an excellent choice for gardeners of all experience levels. This guide explores its soil preferences, adaptability, and the importance of light and mulching.
One of the standout features of Hydrangea paniculata is its ability to grow well in almost any type of soil. While it has some preferences, it is not overly demanding, making it a versatile addition to many gardens.
Hydrangea paniculata adapts to a variety of soil types, including:
While Hydrangea paniculata is not particularly sensitive to soil pH, a slightly acidic to neutral range (pH 5.5–7) is optimal for healthy growth. Unlike other hydrangeas, its flower colour does not change with soil pH, making it easier to maintain.
Good drainage is essential. Although it tolerates occasional dryness, consistently soggy soil can lead to root rot. Incorporate organic matter into heavy soils to improve aeration and drainage.
Compared to other hydrangeas, Hydrangea paniculata is notably drought-tolerant once established. This makes it a great choice for gardeners in areas with inconsistent rainfall. However, like any plant, it benefits from regular watering, especially during the first year while its root system is developing.
Mulching plays a vital role in retaining soil moisture and reducing water stress. A 5–8 cm layer of organic mulch, such as bark chips or shredded leaves, offers multiple benefits:
While Hydrangea paniculata is adaptable in terms of soil, it has specific light requirements that must be met for optimal growth and blooming.
This species thrives in full sun and benefits from as much light as possible. Plant it in a location that receives at least 6–8 hours of direct sunlight daily. In very hot climates, it can also grow in light dappled shade, such as beneath a tree with a sparse canopy, but too much shade may reduce flowering.
Sunlight is crucial for several reasons:
No matter your soil type, you can optimise conditions for Hydrangea paniculata with these tips:
Hydrangea paniculata is a resilient and adaptable shrub that thrives in a wide range of soil conditions, from clay to sandy soils, as long as good drainage is ensured. Its drought tolerance and low maintenance requirements make it an excellent choice for both novice and experienced gardeners. However, to achieve its full potential, provide plenty of sunlight and enhance soil quality with organic amendments and mulching. By understanding its needs, you can enjoy a stunning display of blooms for years to come.
Propagating Hydrangea paniculata allows you to multiply its beauty in your garden or share it with friends and family. This guide outlines the most effective propagation methods for Hydrangea paniculata, including detailed steps for cuttings, layering, and division.
Propagation is a cost-effective and rewarding way to expand your garden. Benefits include:
There are three main ways to propagate Hydrangea paniculata: cuttings, layering, and division. Each method suits different skill levels and garden setups.
Taking cuttings is one of the simplest and most reliable ways to propagate Hydrangea paniculata. Here’s how:
Layering is a low-effort method that uses a branch from the parent plant to grow a new one while still attached. Follow these steps:
Division is ideal for mature plants with multiple stems. It’s best performed in early spring or autumn. Here’s how:
To maximise your success rate when propagating Hydrangea paniculata, follow these tips:
Propagating Hydrangea paniculata is a rewarding process that allows you to expand your garden or share the beauty of this stunning plant. Whether you prefer the simplicity of cuttings, the reliability of layering, or the speed of division, each method offers a straightforward way to grow new plants. With patience, proper care, and attention to detail, your propagated hydrangeas will flourish and bring joy for years to come.
Panicle hydrangea is known for its robust nature and tolerance to colder climates. However, providing proper winter protection ensures that it remains healthy and ready to thrive in the next growing season. This guide explains the key steps for safeguarding your hydrangea during winter, including mulching, pruning advice, and additional frost protection measures.
Mulching is a critical step in preparing Hydrangea paniculata for winter. A thick layer of mulch acts as insulation, protecting the plant's roots from extreme cold. Here’s why it’s so important:
While it may be tempting to tidy up your garden in autumn, Hydrangea paniculata should not be pruned until spring. Here’s why delaying pruning is crucial:
The dried flower heads and stems left intact over winter act as a natural barrier against frost, shielding the stems and buds from freezing winds and temperatures.
In the event of severe frost, the topmost growth may suffer damage. By waiting until spring, you can identify and remove only the affected parts, leaving the healthy sections intact.
Pruning in spring allows you to cut back to strong, healthy buds, which will produce vigorous new growth and abundant flowers on this year’s wood.
Beyond mulching and delaying pruning, there are other steps you can take to protect your hydrangea:
Once winter has passed and the danger of frost is gone, it’s time to prepare your Hydrangea paniculata for the growing season:
While Hydrangea paniculata is naturally resilient, providing proper winter protection helps ensure a strong start in the spring. By applying a thick layer of mulch, leaving the stems and flower heads intact, and avoiding autumn pruning, you can protect your plant from frost and ensure vigorous growth and blooming in the next season. With these simple steps, your hydrangea will thrive and bring joy to your garden year after year.
Hydrangea paniculata is a hardy and reliable shrub that generally resists most diseases. However, under certain conditions, it can fall victim to a few common issues that affect its health and blooms. This guide explores the typical diseases of Hydrangea paniculata, how to prevent them, and effective treatment methods, including organic and chemical solutions.
While Hydrangea paniculata is less disease-prone compared to other hydrangeas, it can still be affected by the following:
Symptoms: A white, powdery coating on leaves, stems, and flowers that can lead to distorted growth.
Causes: High humidity, poor air circulation, and shady conditions often encourage its development.
Symptoms: Dark brown or black spots on leaves, sometimes surrounded by yellow halos, which can cause leaves to fall prematurely.
Causes: Fungal pathogens, often spread by water splash during overhead watering or rainfall.
Symptoms: Yellowing leaves, wilting, and stunted growth, with roots turning brown and mushy.
Causes: Overwatering or poor drainage that leads to waterlogged soil.
Symptoms: Orange or reddish-brown pustules on the underside of leaves, which may spread to other parts of the plant.
Causes: Fungal spores carried by wind or water.
Prevention is always the best defence against diseases. By creating optimal conditions for your hydrangea, you can minimise the risk of infections:
If your hydrangea shows signs of disease, prompt treatment is essential. Here are some organic and chemical options:
Maintaining healthy plants is the best way to prevent recurrent diseases. Follow these tips to ensure long-term success:
While Hydrangea paniculata is relatively disease-resistant, certain fungal and bacterial issues can still arise under unfavourable conditions. By practising good garden hygiene, ensuring optimal growing conditions, and using appropriate treatments when needed, you can keep your hydrangeas healthy and flourishing. With proper care, your panicle hydrangeas will reward you with stunning blooms year after year.
Hydrangea paniculata, or panicle hydrangea, is a hardy and low-maintenance shrub that generally resists pests. However, under certain conditions, pests may still target it, potentially harming its growth and blooms. Using eco-friendly pest management techniques allows you to protect your plants while safeguarding the environment. This guide explores common pests affecting Hydrangea paniculata, prevention strategies, and natural treatment methods.
Although Hydrangea paniculata is resilient, the following pests may occasionally pose a problem:
Symptoms: Small, soft-bodied insects cluster on new growth, causing yellowing, curling leaves, and a sticky residue called honeydew.
Why They Appear: Aphids are often attracted to tender, new growth in warm, moist conditions.
Symptoms: Tiny yellow or white speckles on leaves, fine webbing, and eventual leaf drop.
Why They Appear: Hot, dry conditions encourage spider mite infestations.
Symptoms: Hard-shelled insects attached to stems and leaves, causing discolouration and reduced vigour.
Why They Appear: Scales thrive on plants under stress or in sheltered environments.
Symptoms: Irregular holes in leaves, especially on young plants, and visible slime trails.
Why They Appear: Slugs and snails are attracted to damp, shaded areas with decaying organic matter.
Prevention is the best approach to managing pests sustainably. Here are some effective strategies:
Ladybirds, lacewings, and parasitic wasps feed on pests like aphids and spider mites. Plant companion flowers such as dill, marigolds, or yarrow to attract these natural predators.
Keep your hydrangeas healthy by providing adequate water, sunlight, and nutrients. A strong, stress-free plant is less likely to attract pests.
Apply a 5–8 cm layer of organic mulch around the base to retain moisture, suppress weeds, and deter slugs and snails.
Check your hydrangeas weekly for early signs of pest activity. Early detection allows for quick, minimal intervention before pests become a serious problem.
If pests appear, these natural solutions can help control them without harming the environment:
Remove visible pests like slugs, snails, or scale insects by hand. Dispose of them far from your garden to prevent their return.
Mix neem oil with water according to the label instructions and spray directly onto pests and affected areas. Neem oil disrupts the life cycle of many insects without harming beneficial ones.
Mix 1 tablespoon of mild liquid soap with 1 litre of water and spray on leaves to smother aphids and spider mites. Rinse leaves after a few hours to avoid soap residue.
Use copper tape around the base of the plant to deter slugs and snails. Floating row covers can also shield plants from flying pests.
Place shallow containers of beer near your hydrangeas. Slugs and snails are attracted to the beer and will drown in the trap.
For severe infestations, organic pesticides may be necessary. Choose products made from natural ingredients, such as pyrethrin or insecticidal soaps. Apply early in the morning or late in the evening to minimise harm to beneficial insects. Always follow the manufacturer’s instructions for safe use.
Incorporate these practices into your garden care routine for sustainable, long-term pest control:
Eco-friendly pest management for Hydrangea paniculata ensures your plants remain healthy while protecting the environment. By focusing on prevention, using natural solutions, and incorporating sustainable practices, you can effectively manage pests without harmful chemicals. With proper care, your hydrangeas will flourish and provide stunning blooms year after year.
Panicle hydrangea is a stunning and versatile shrub that brings elegance to any garden. Its cone-shaped flower clusters and robust growth make it a favourite among gardeners. To enhance its beauty and health, companion planting can be a highly effective strategy. This guide explores the best plants to pair with Hydrangea paniculata, their benefits, and how to design a harmonious garden.
Companion planting is the practice of pairing plants that complement and support each other. For Hydrangea paniculata, this approach offers several advantages:
When selecting companion plants, consider those that share similar light, soil, and water requirements. Here are some ideal choices:
Why: Grasses like Miscanthus, fountain grass, or Japanese forest grass add movement and texture, contrasting beautifully with the bold hydrangea blooms.
Placement: Position grasses as a backdrop or border to frame the hydrangeas and create a layered effect.
Examples: Ferns, hostas, and astilbes thrive in similar conditions and provide lush foliage that complements the hydrangea’s structure.
Placement: Use these plants to create a soft underlayer around the base of your hydrangeas.
Examples: Plants like echinacea, black-eyed Susan, and phlox add bursts of colour and extend the blooming season.
Placement: Interplant among hydrangeas to create a dynamic, colourful display.
Examples: Boxwood, holly, or juniper provide year-round structure and a contrasting green backdrop for the hydrangea’s vibrant blooms.
Placement: Use evergreens as anchor plants in mixed borders or as hedges near hydrangeas.
Examples: Creeping Jenny, ajuga, or pachysandra create a carpet of green that retains soil moisture and suppresses weeds.
Placement: Plant at the base of hydrangeas to enhance soil health and provide a neat, finished look.
To create a visually appealing and functional garden, consider these companion planting design tips:
Maintaining healthy hydrangeas and their companions requires consistent care:
Some plants are not ideal companions for Hydrangea paniculata due to differing requirements or competitive growth:
Companion planting with Hydrangea paniculata is an effective way to enhance the health and beauty of your garden. By selecting plants with complementary growing requirements and designing with colour, texture, and height in mind, you can create a harmonious and visually appealing landscape. With proper care, your hydrangeas and their companions will thrive together, offering stunning displays season after season.
Hydrangea paniculata is a standout shrub renowned for its large, cone-shaped blooms and adaptability. Its resilience, versatility, and ability to thrive in sunny spots make it an essential plant for garden design. Whether as a focal point, a hedge, or part of a mixed border, this hydrangea offers endless possibilities for enhancing your outdoor space.
Hydrangea paniculata is an excellent choice for garden design due to its unique characteristics:
The versatility of Hydrangea paniculata allows it to fit seamlessly into various garden styles. Here are some creative ways to incorporate it:
Use Hydrangea paniculata as a striking focal point in your garden. Its tall stature and dramatic blooms draw the eye, making it ideal for planting in prominent locations such as entryways, corners, or central garden beds.
Pair panicle hydrangeas with complementary plants to create a layered, textured border. Combine them with perennials like echinacea or ornamental grasses to achieve a balanced look.
Plant Hydrangea paniculata in rows to create informal hedges or privacy screens. Its dense foliage and showy flowers provide year-round structure and seasonal beauty.
Dwarf varieties such as ‘Little Lime’ or ‘Bobo’ thrive in pots, making them perfect for patios, balconies, or small gardens.
The flowers of Hydrangea paniculata attract bees, butterflies, and other pollinators. Include it in wildlife-friendly garden designs to support biodiversity.
Enhance the visual appeal of your garden by pairing Hydrangea paniculata with complementary plants:
Keep these tips in mind when incorporating Hydrangea paniculata into your garden design:
With so many cultivars available, there’s a variety to suit every garden style:
Hydrangea paniculata is a versatile and resilient choice for garden design, offering beauty, adaptability, and ease of care. Whether used as a focal point, a hedge, or part of a mixed border, it brings structure and colour to any landscape. With thoughtful placement, complementary companions, and proper maintenance, this stunning shrub will elevate your garden for years to come.

Discover how to grow and care for Hydrangea paniculata 'Limelight'. Learn about planting, maintenance, pruning, and the stunning beauty of this versatile shrub.
Read More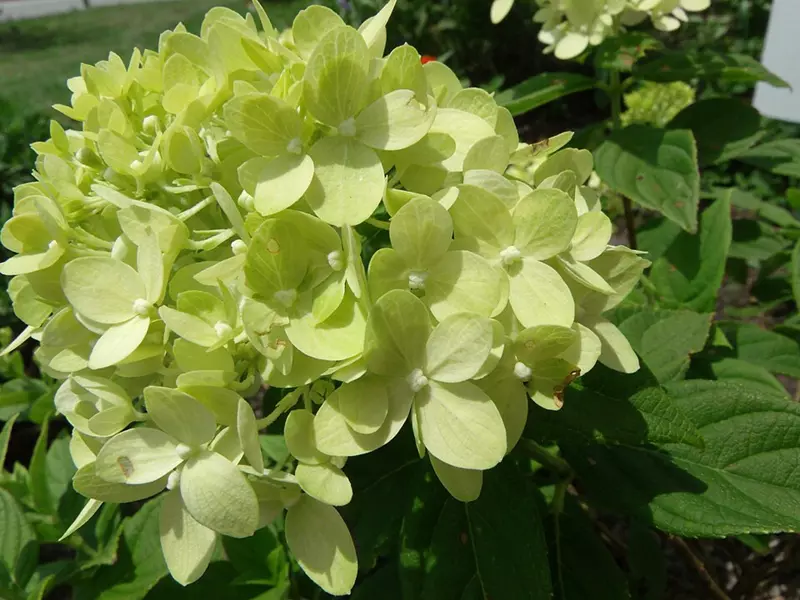
Discover the top 10 Hydrangea paniculata varieties popular in the UK. These stunning plants are ideal for gardens of all sizes and styles.
Read More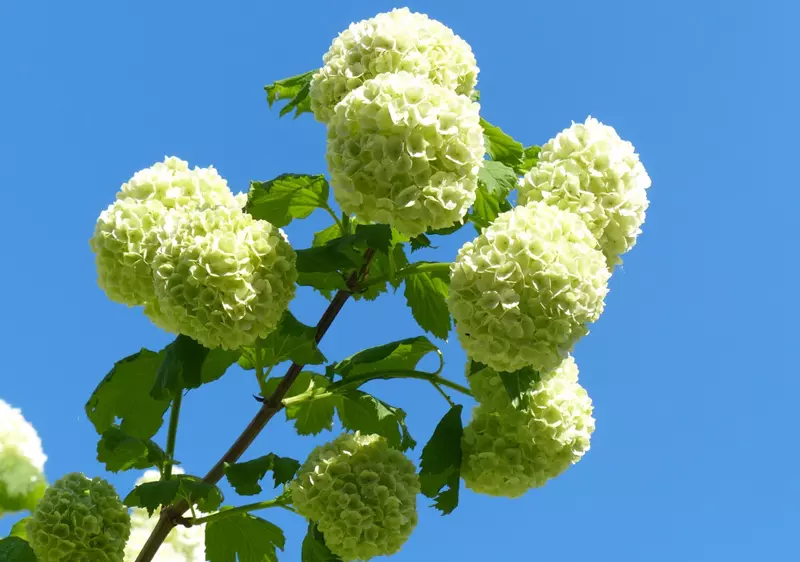
Learn about sun-tolerant hydrangea varieties and their care. Explore options like Hydrangea paniculata, quercifolia, and arborescens for bright, sunny gardens.
Read More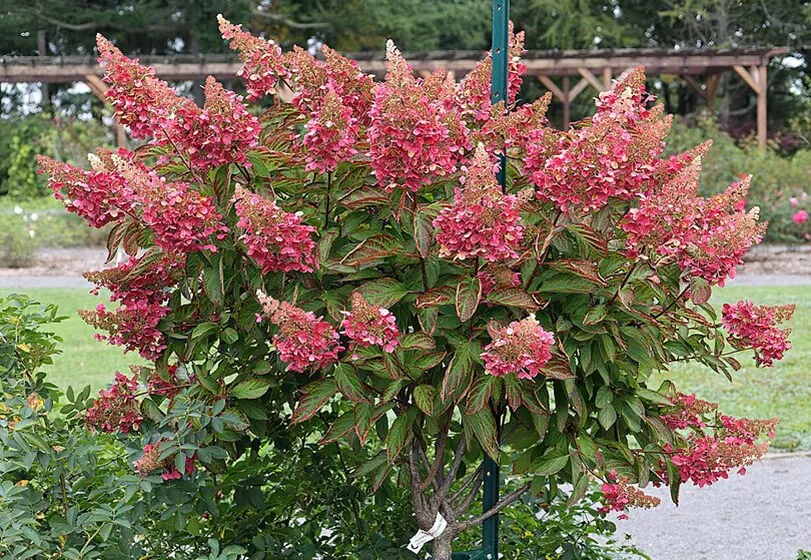
Discover the beauty and care tips for Hydrangea paniculata 'Pinky Winky'. Learn how to grow, prune, and use this stunning shrub in your garden.
Read More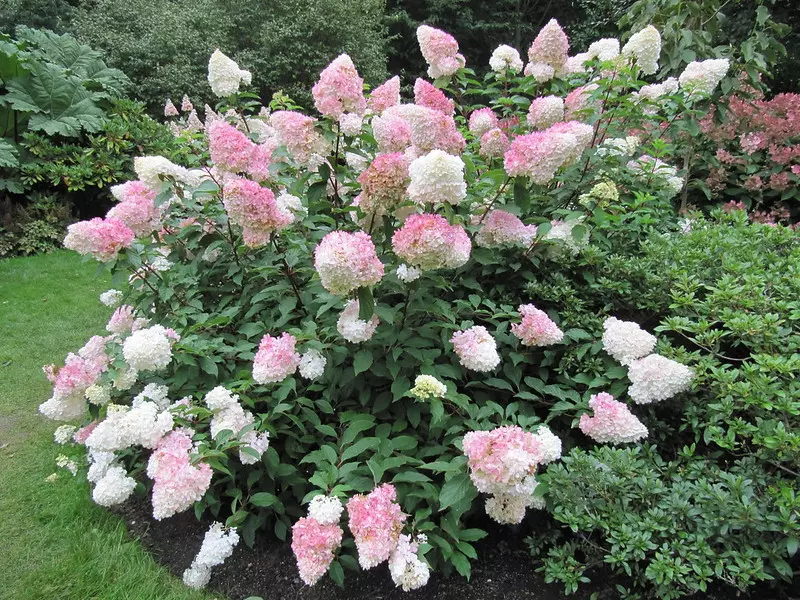
Discover the complete care and maintenance guide for Hydrangea paniculata 'Vanille Fraise', including planting tips, pruning advice, and pest management.
Read More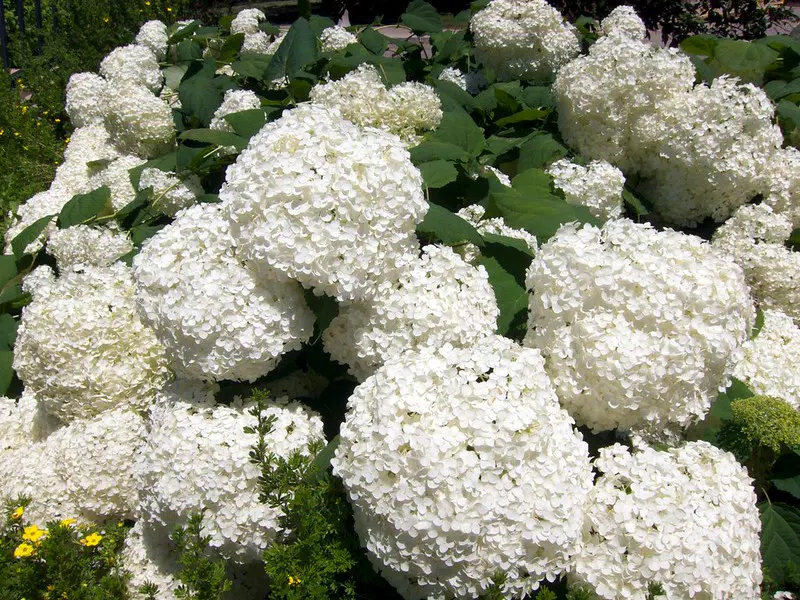
Discover the top 10 most popular hydrangea varieties in the UK, their unique characteristics, and tips for incorporating them into your garden.
Read More